Gehört zu: Beobachtungsplanung
Siehe auch: Lichtverschmutzung, OpenStreetMap
Benutzt: WordPress-Plugin Google Maps, Fotos von pCloud
Stand: 28.05.2021
Astronomische Beobachtungsplätze an der A24
Ort für Auto und Teleskop
Für astronomische Beobachtungen, speziell für Astrofotografie, muss man wohl die Dunstglocke von Hamburg verlassen, es sei denn, man möchte stundenlang mit teuren “Narrow Band” Filtern belichten.
Wenn ich meine schwere Astro-Ausrüstung schon mal ins Auto einpacke, möchte ich am liebsten zu einem schönen dunklen Platz hinfahren, bei dem ich direkt neben meinem parkenden Auto die Geräte aufbauen kann – Bitte nicht noch 500 m Fußweg durch einen dunklen Wald.
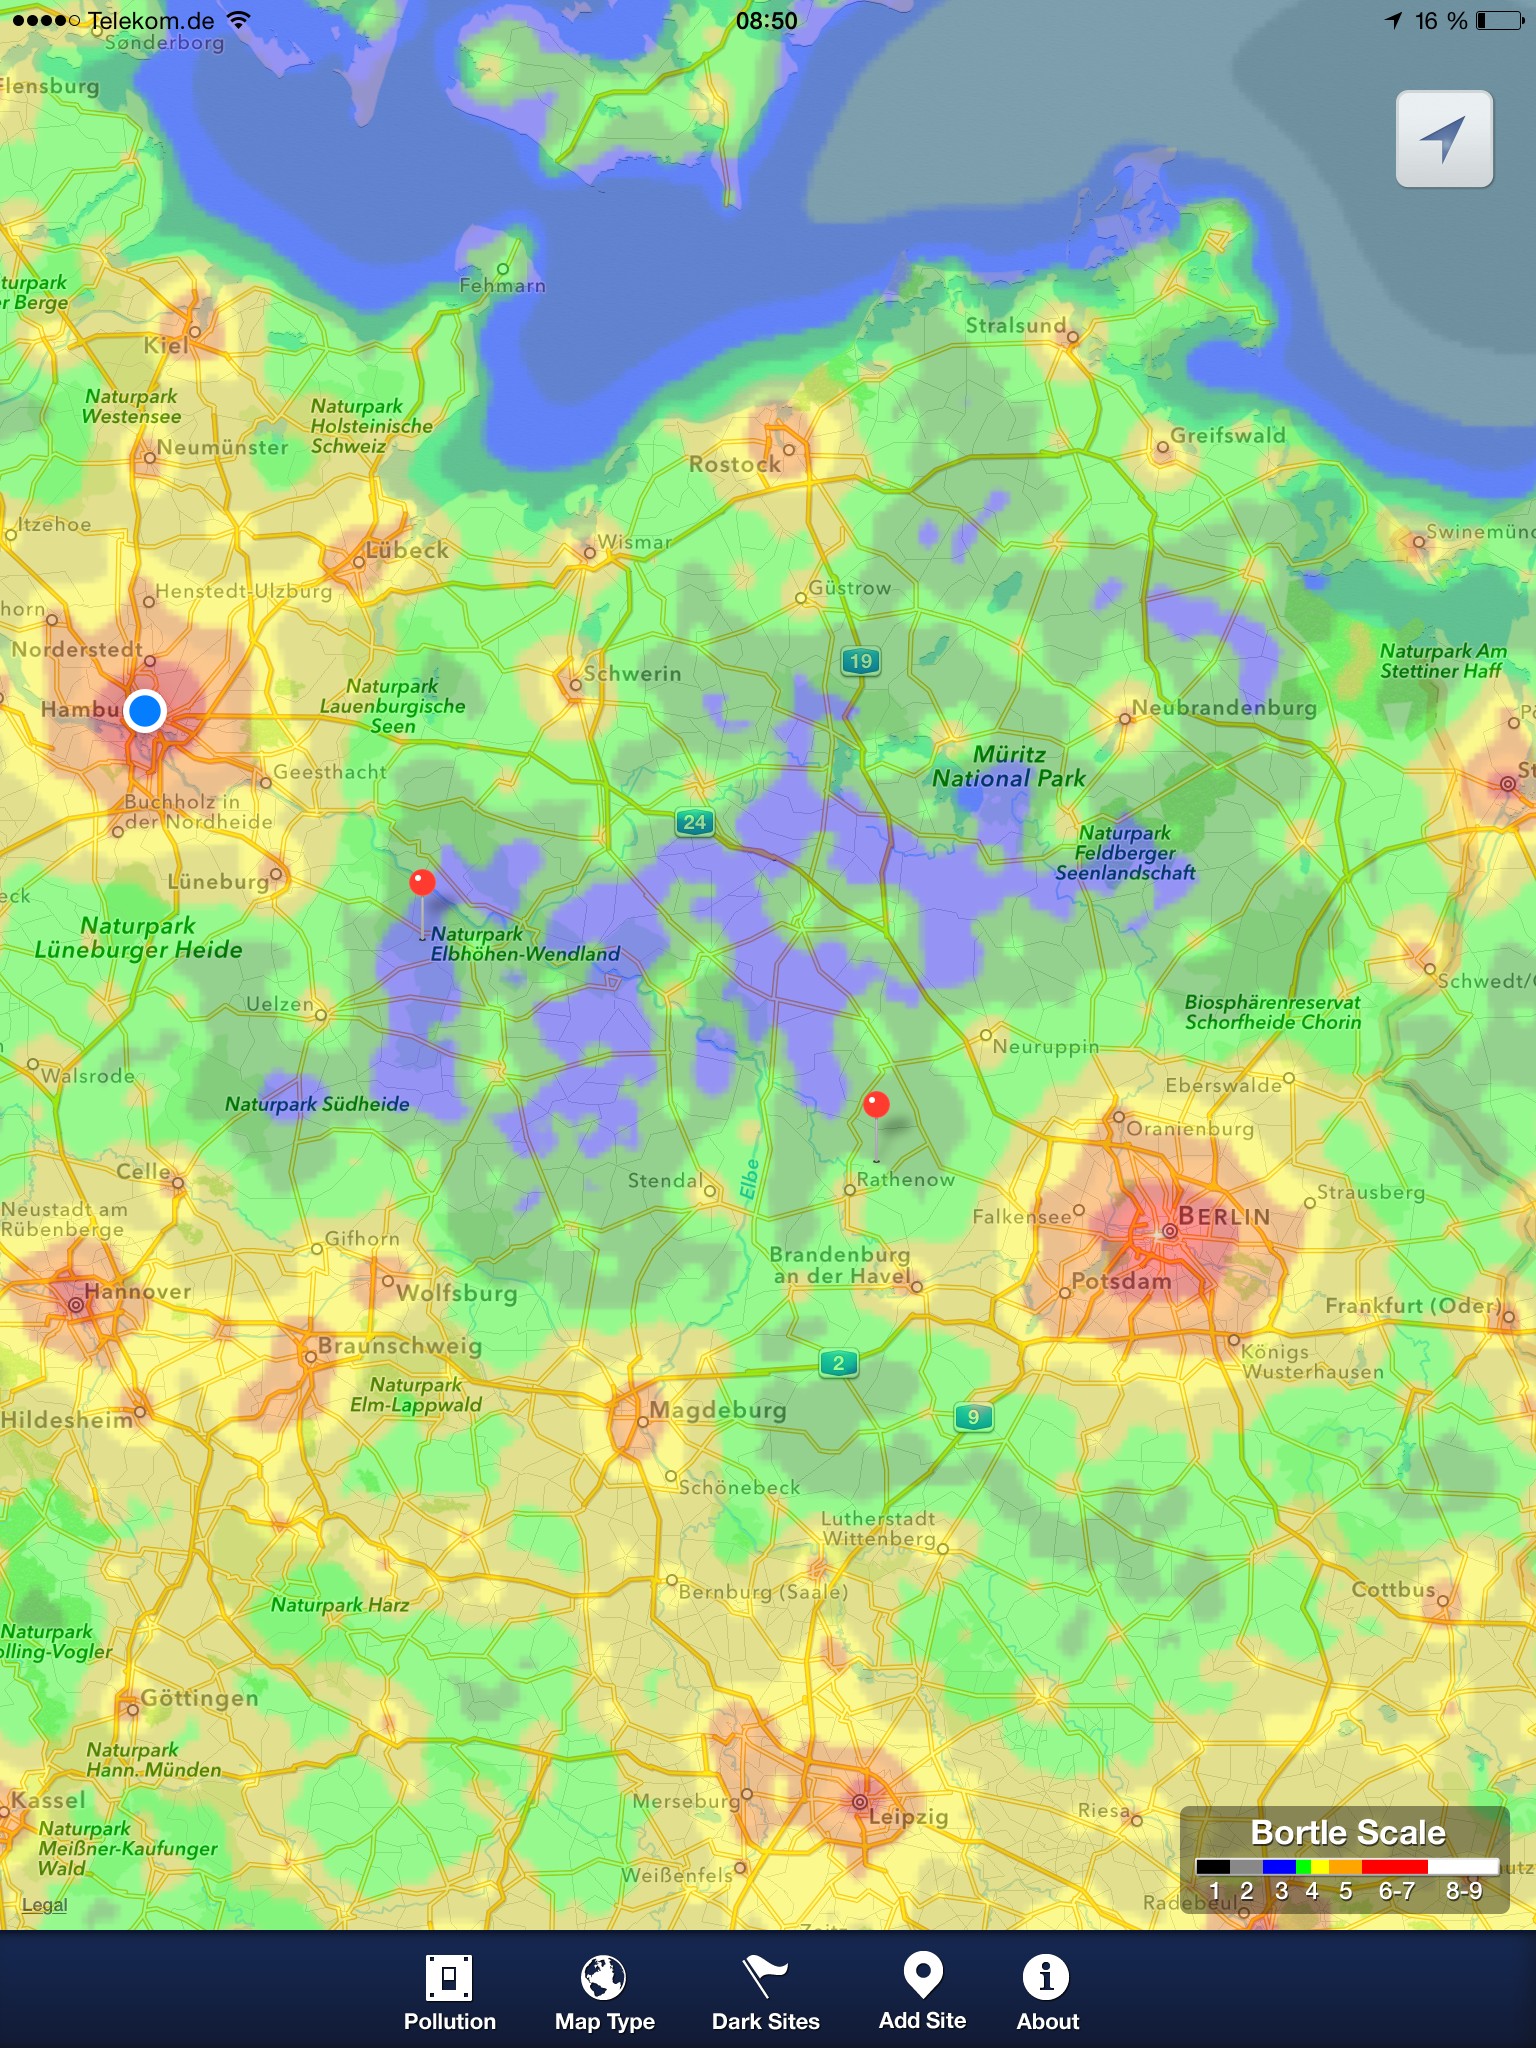
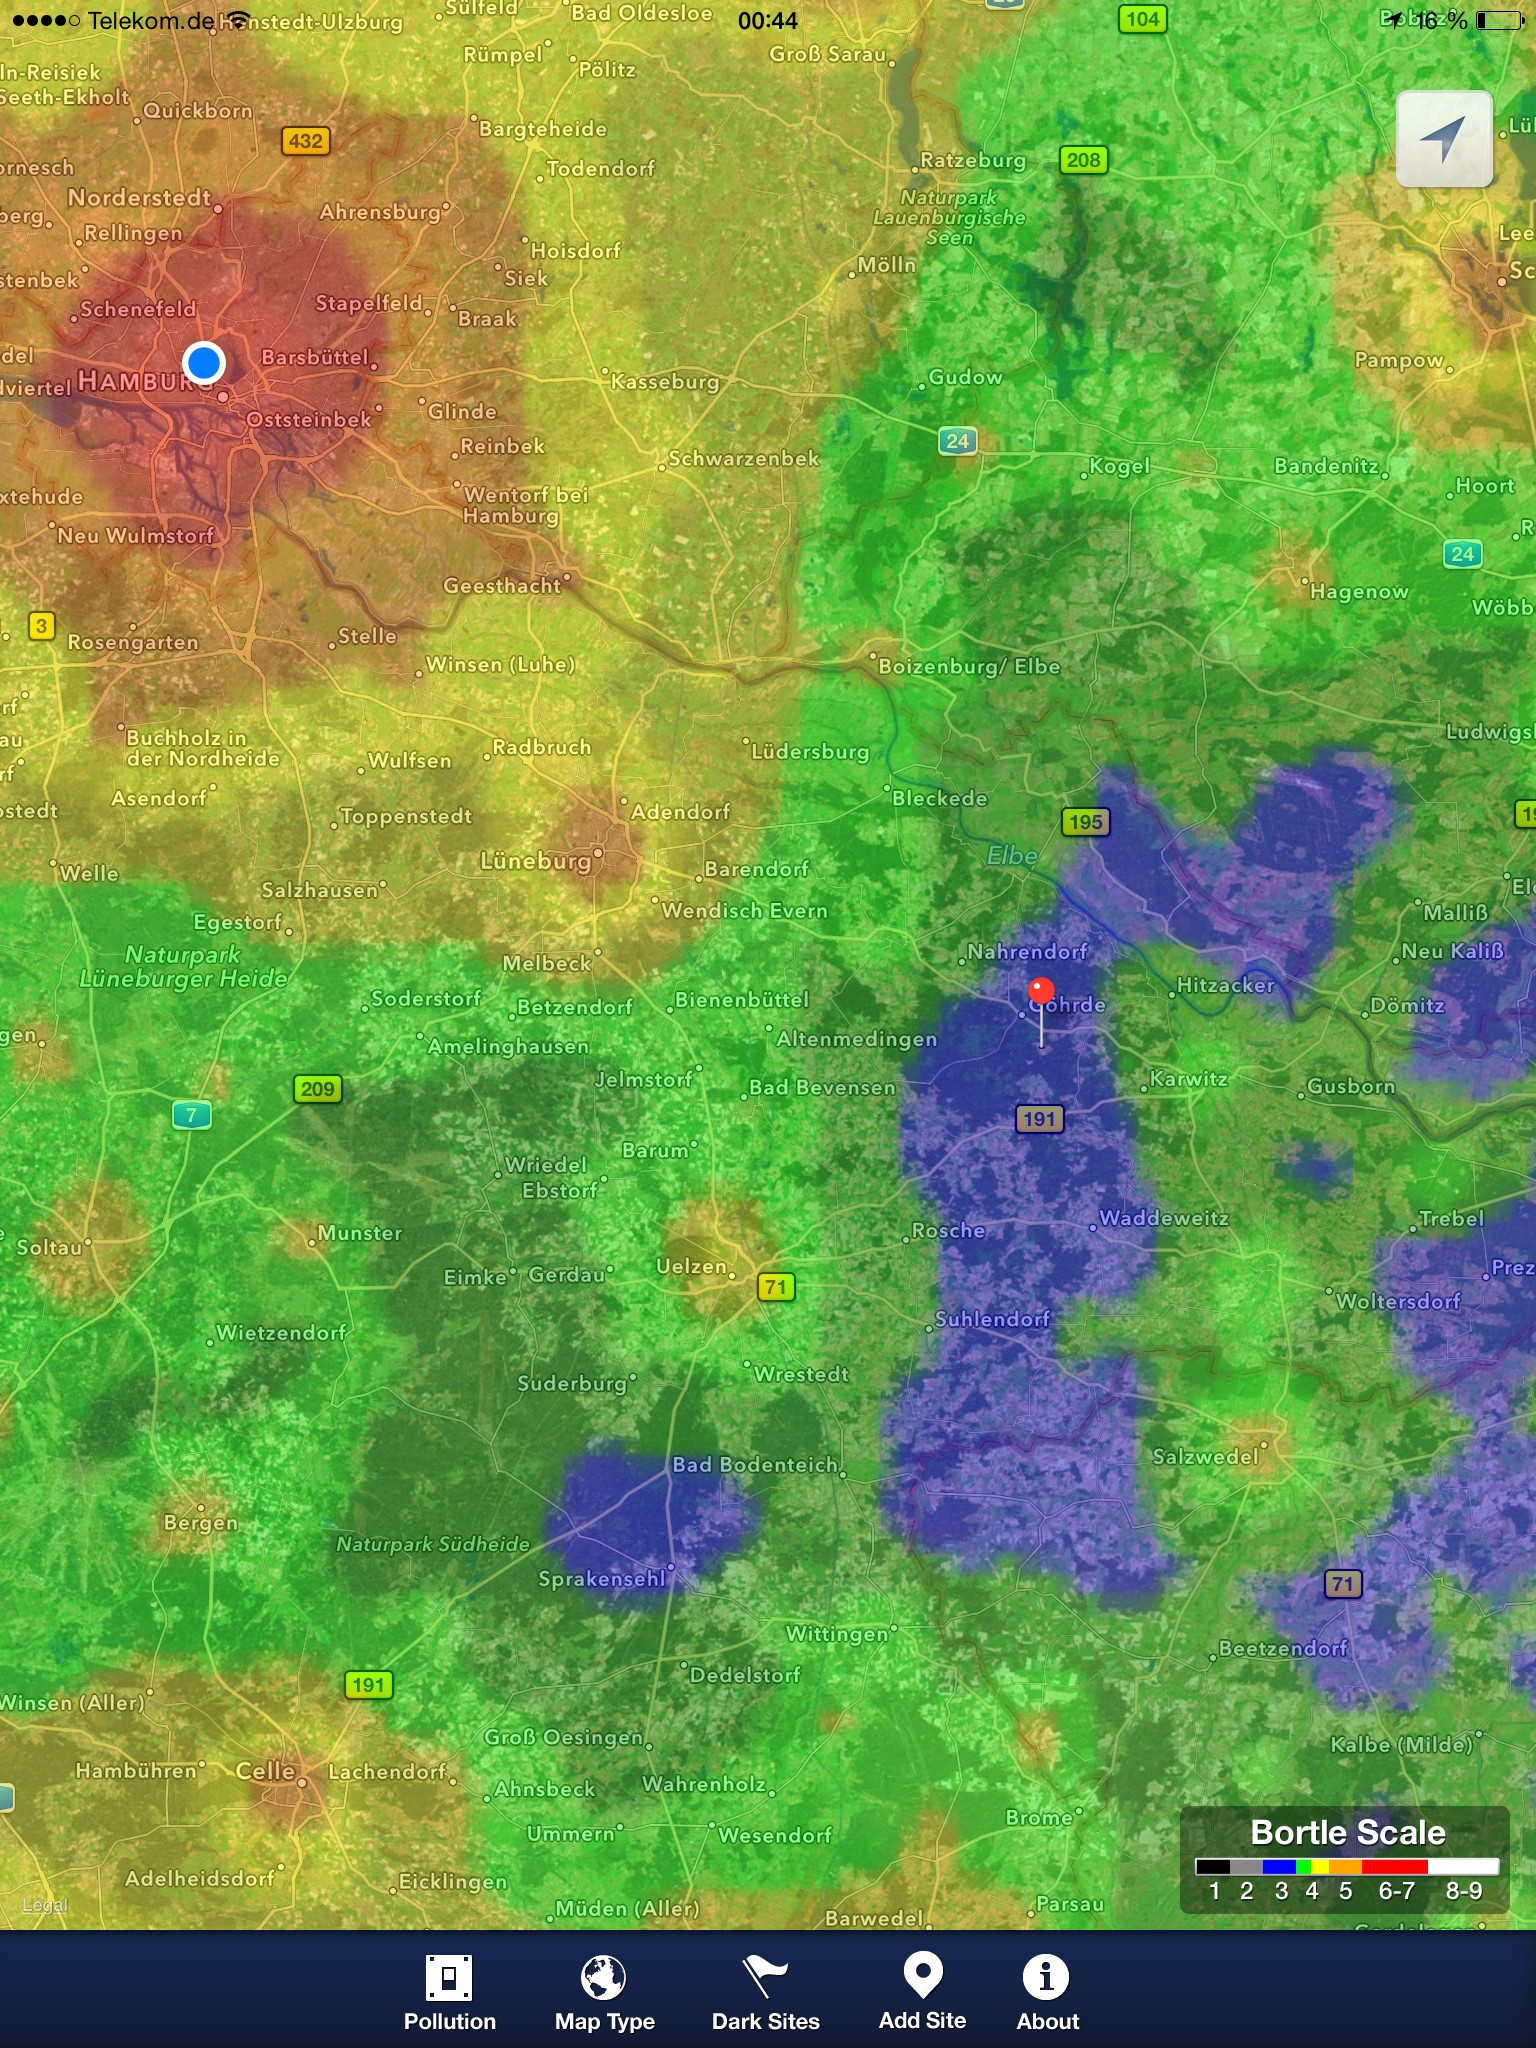
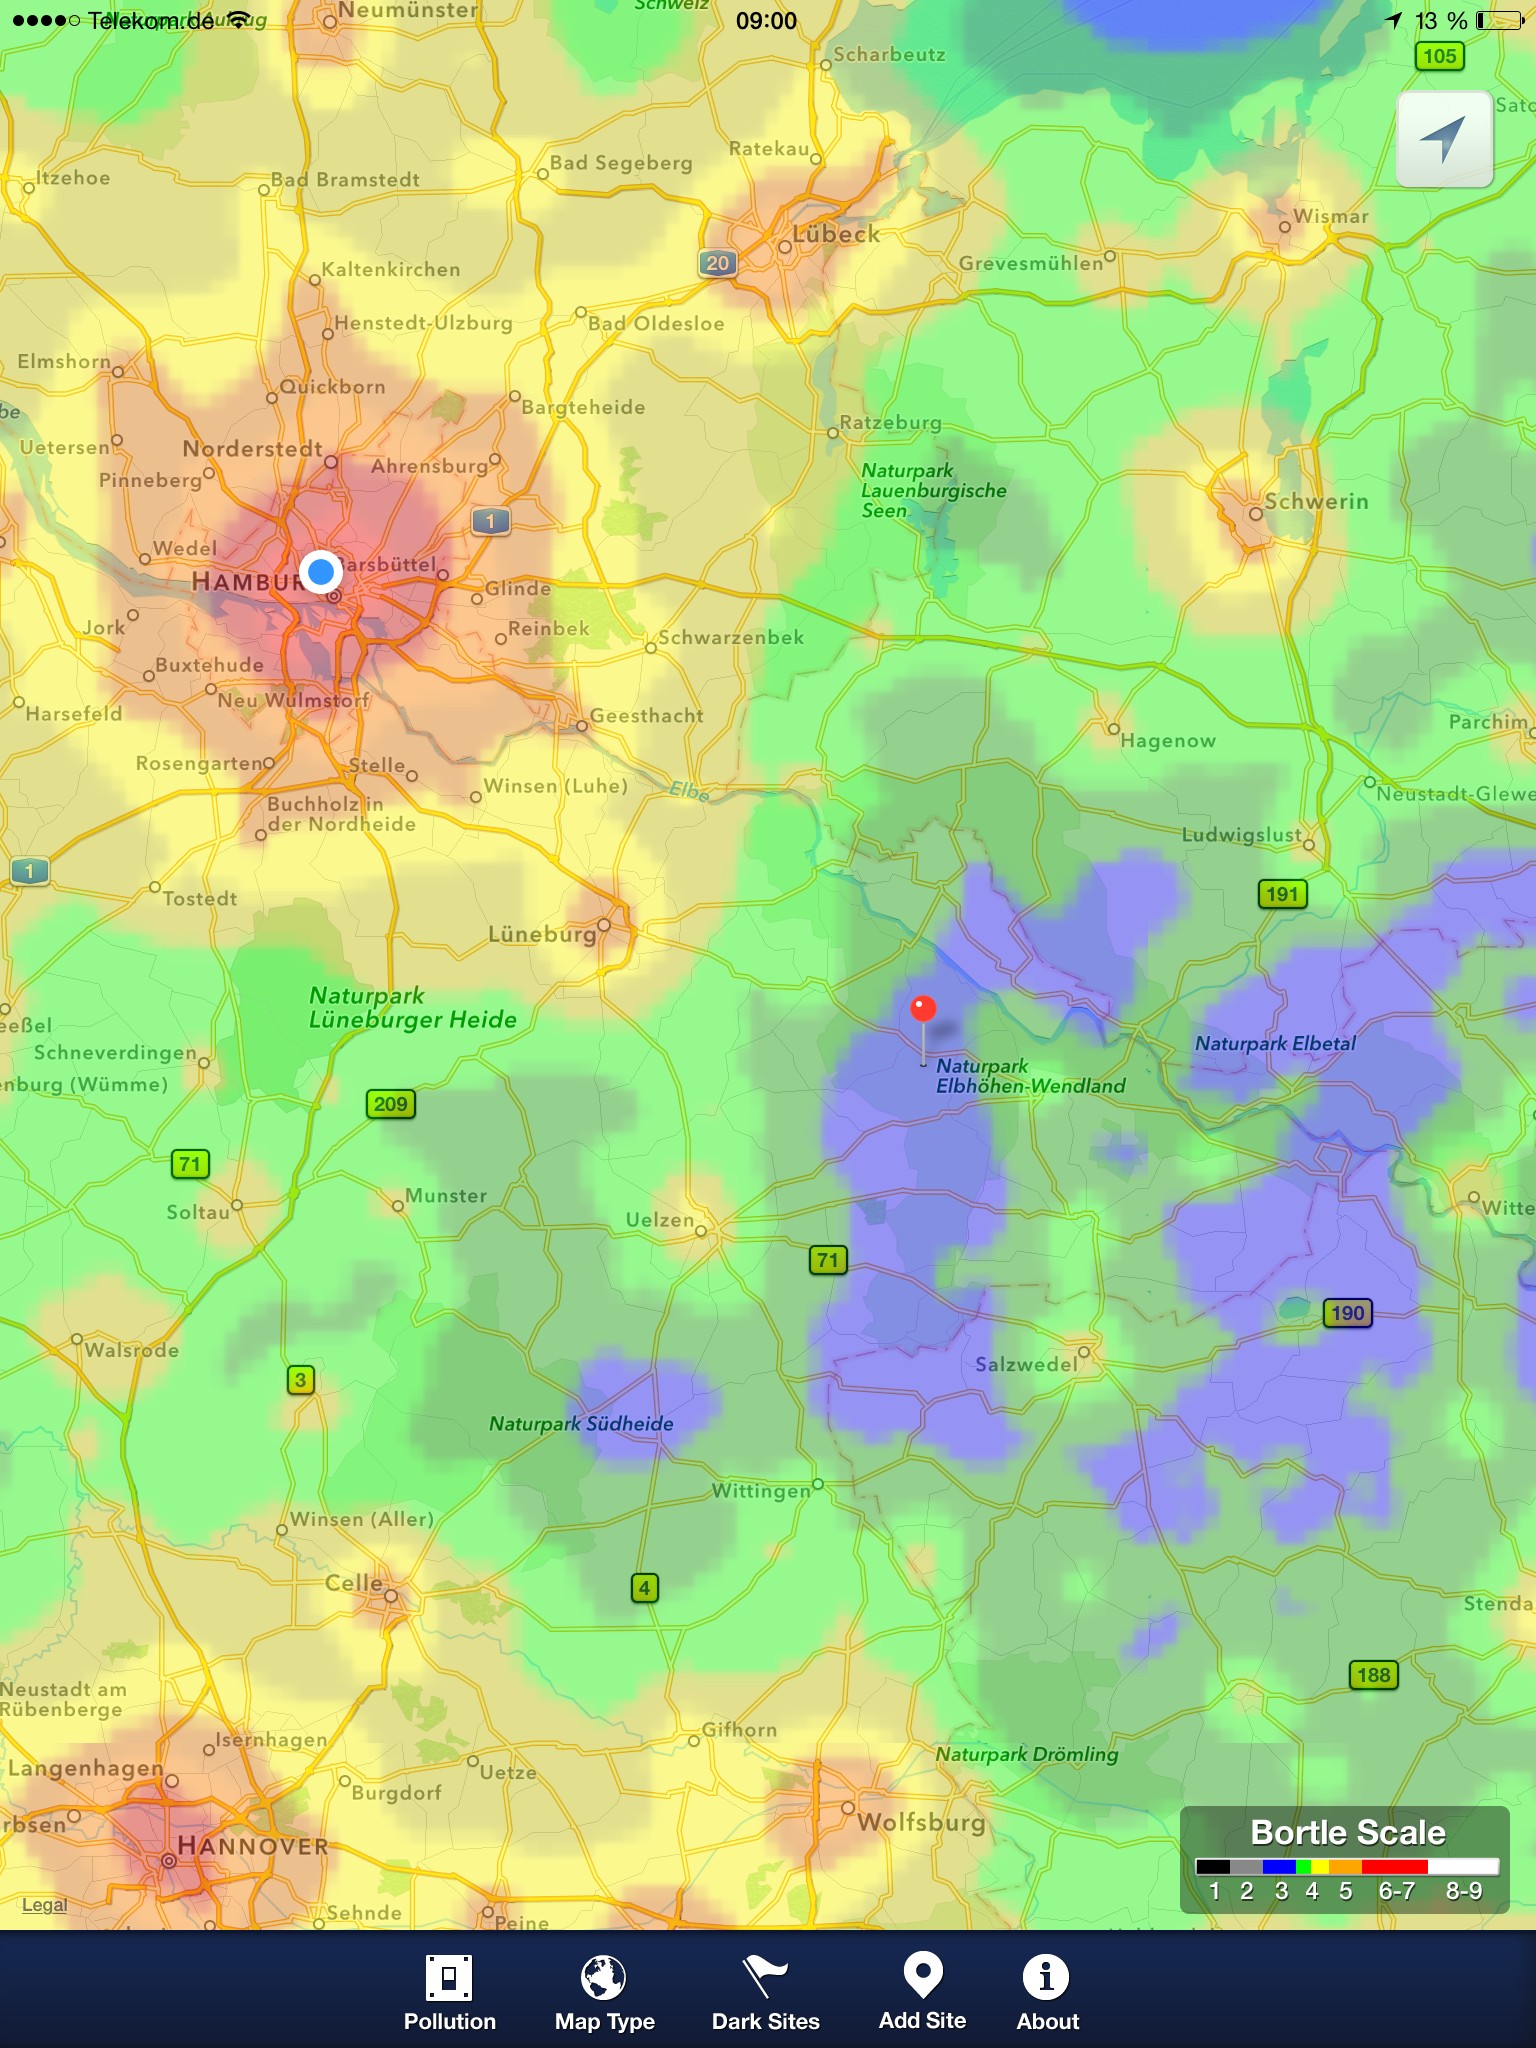
Die Autobahn A24 von Hamburg Richtung Berlin scheint sehr geeignet, weil sie zwischen Sukow und Putliz durch ein Gebiet mit sehr geringer “Light Pollution” führt.
Zum Thema Lichtverschmutzung habe ich einen separaten Artikel.
Projekt “Autobahnparkplätze A24”
Autobahnraststätten und Autobahntankstellen kommen nicht infrage, da dort mit viel hellem Licht zu rechnen ist. Ideal wäre ein alter, “klassischer” Parkplatz ohne beleuchtetes Toilettenhäuschen. Mein erstes Projekt für auswärtige astronomische Beobachtungen ist also “Autobahnparkplätze an der A24”: (hier wollte ich die Parkplätze in Google Maps darstellen)
- Hahnenkoppel xhttp://www.google.com/maps?q=53.567692,10.304312
- Wittenburger Land xhttp://www.google.com/maps?q=53.494514,11.126136
- Schremheide xhttp://www.google.com/maps?q=53.462037,11.342175
- Blievensdorf xhttp://www.google.com/maps?q=53.370218,11.651696
- Putlitz xhttp://www.google.com/maps?q=53.284965,12.072167
- Dorngrund xhttp://www.google.com/maps?q=53.263569,12.142798
Die Fotos habe ich auf pCloud gestellt:
- Foto 1: DK_20150724_0010.JPG (Hahnenkoppel Schotterplatz)
- Foto 2: DK_20150724_0011.JPG (Hahnenkoppel Toilettenhäuschen)
- Foto 3: DK_20150724_0014.JPG (Wittenburger Land)
- Foto 4: DK_20150724_0015.JPG (Wiitenburger Land Toilettenhäuschen)
- Foto 5: DK_20150930_06000.JPG (Schremmheide)
- Foto 6: DK_20150930_06006.JPG (Blievenstorf)
- Foto 7: DK_20150930_06024.JPG (Putliz)
- Foto 8: DK_20150930_06058.jpg (Dorngrund Toilettenhäuschen)
- Foto 9: DK_20150930_06054.JPG (Dorngrund Wiese)
Autobahnparkplatz Hahnenkoppel
Open Street Map: A24 Hahnenkoppel
Foto 1: A24 Parkplatz Hahnenkoppel Schotterplatz (pCloud: DK_20150724_0010.JPG)
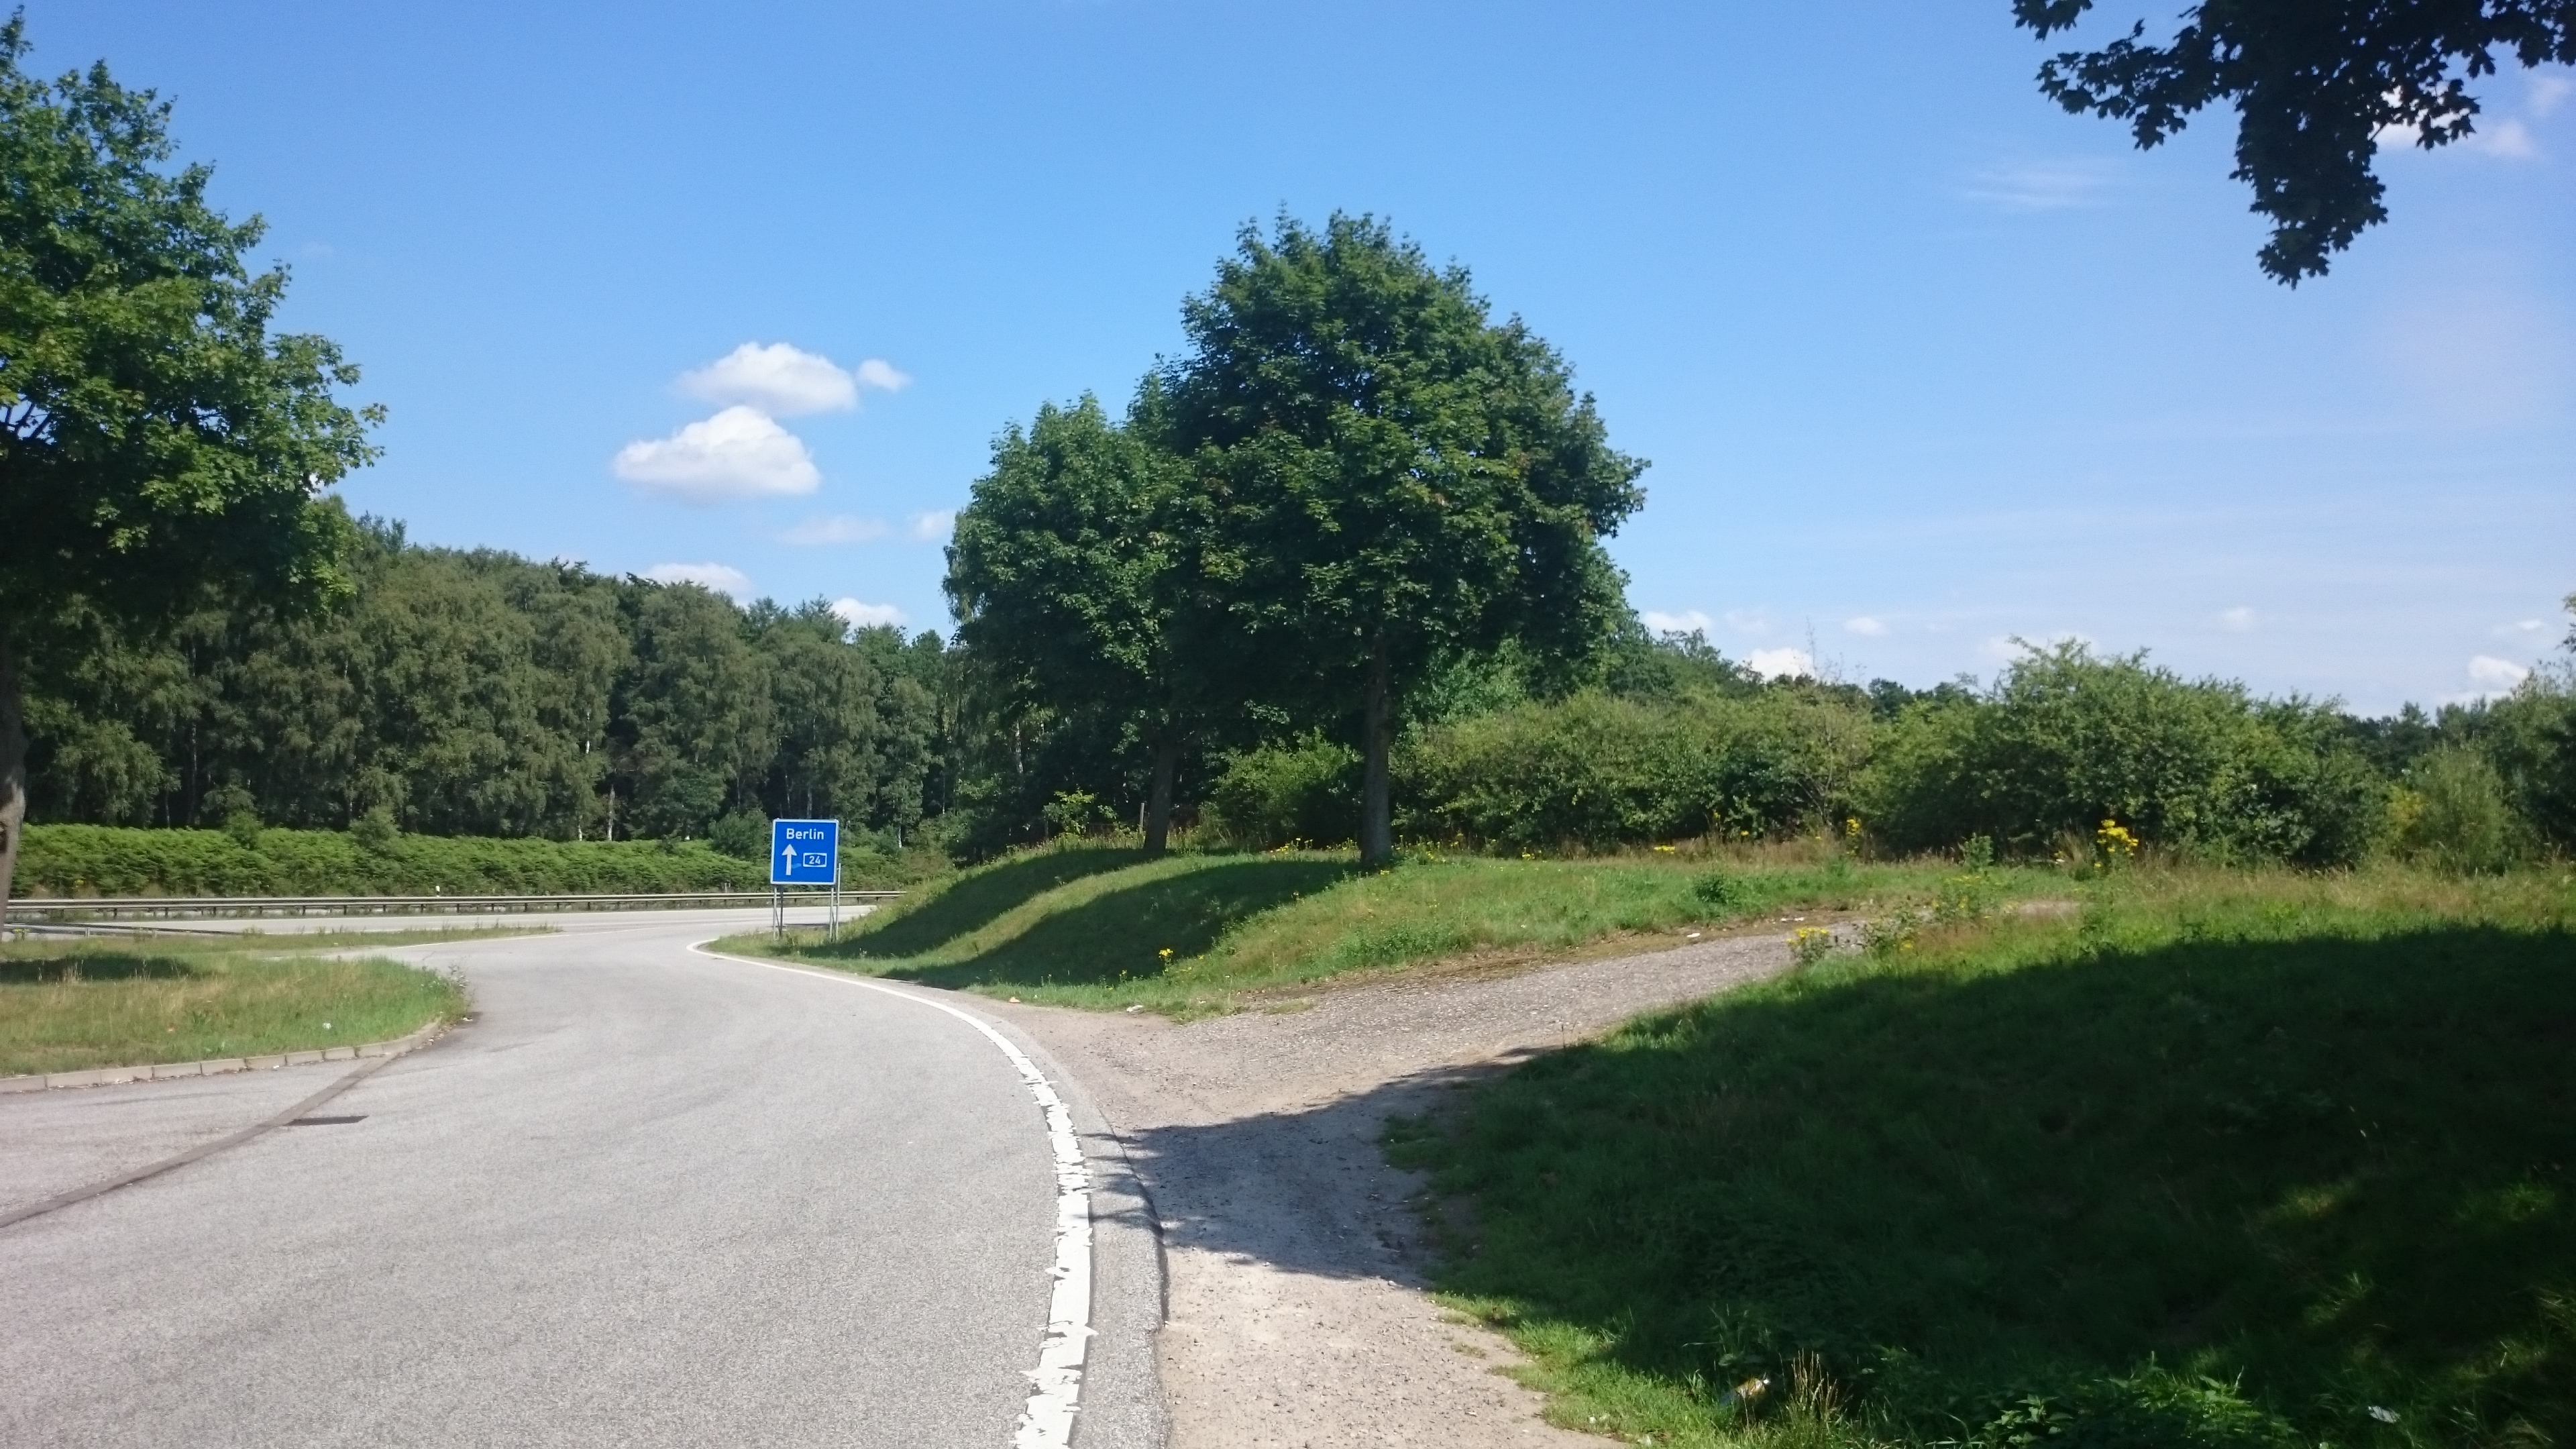
Wenn man die A24 vom Horner Kreisel aus gen Osten fährt, ist der erste Kandidat für Astronomie der Parkplatz “Hahnenkoppel”, kurz vor der Ausfahrt “Witzhave”.
Von meiner Wohnung: 23,9 km d.h. 26 Minuten ohne Verkehr
GPS: 53°34’03.7″N 10°18’15.5″E Google Maps: xhttp://www.google.com/maps?q=53.567692,10.304312
Beschreibung:
- Der Parkplatz ist sehr klein, d.h. schnell sind alle offiziellen Stellplätze belegt. Es gibt einen kleinen “Schotterplatz”, wo man Auto plus Teleskop hinstellen könnte; das ist ganz hinten rechts ein paar Meter abseits vom Asphalt (Foto 1).
- Sichtfeld: Blick nach Süden recht gut, nur in gewisser Entfernung einige Bäume
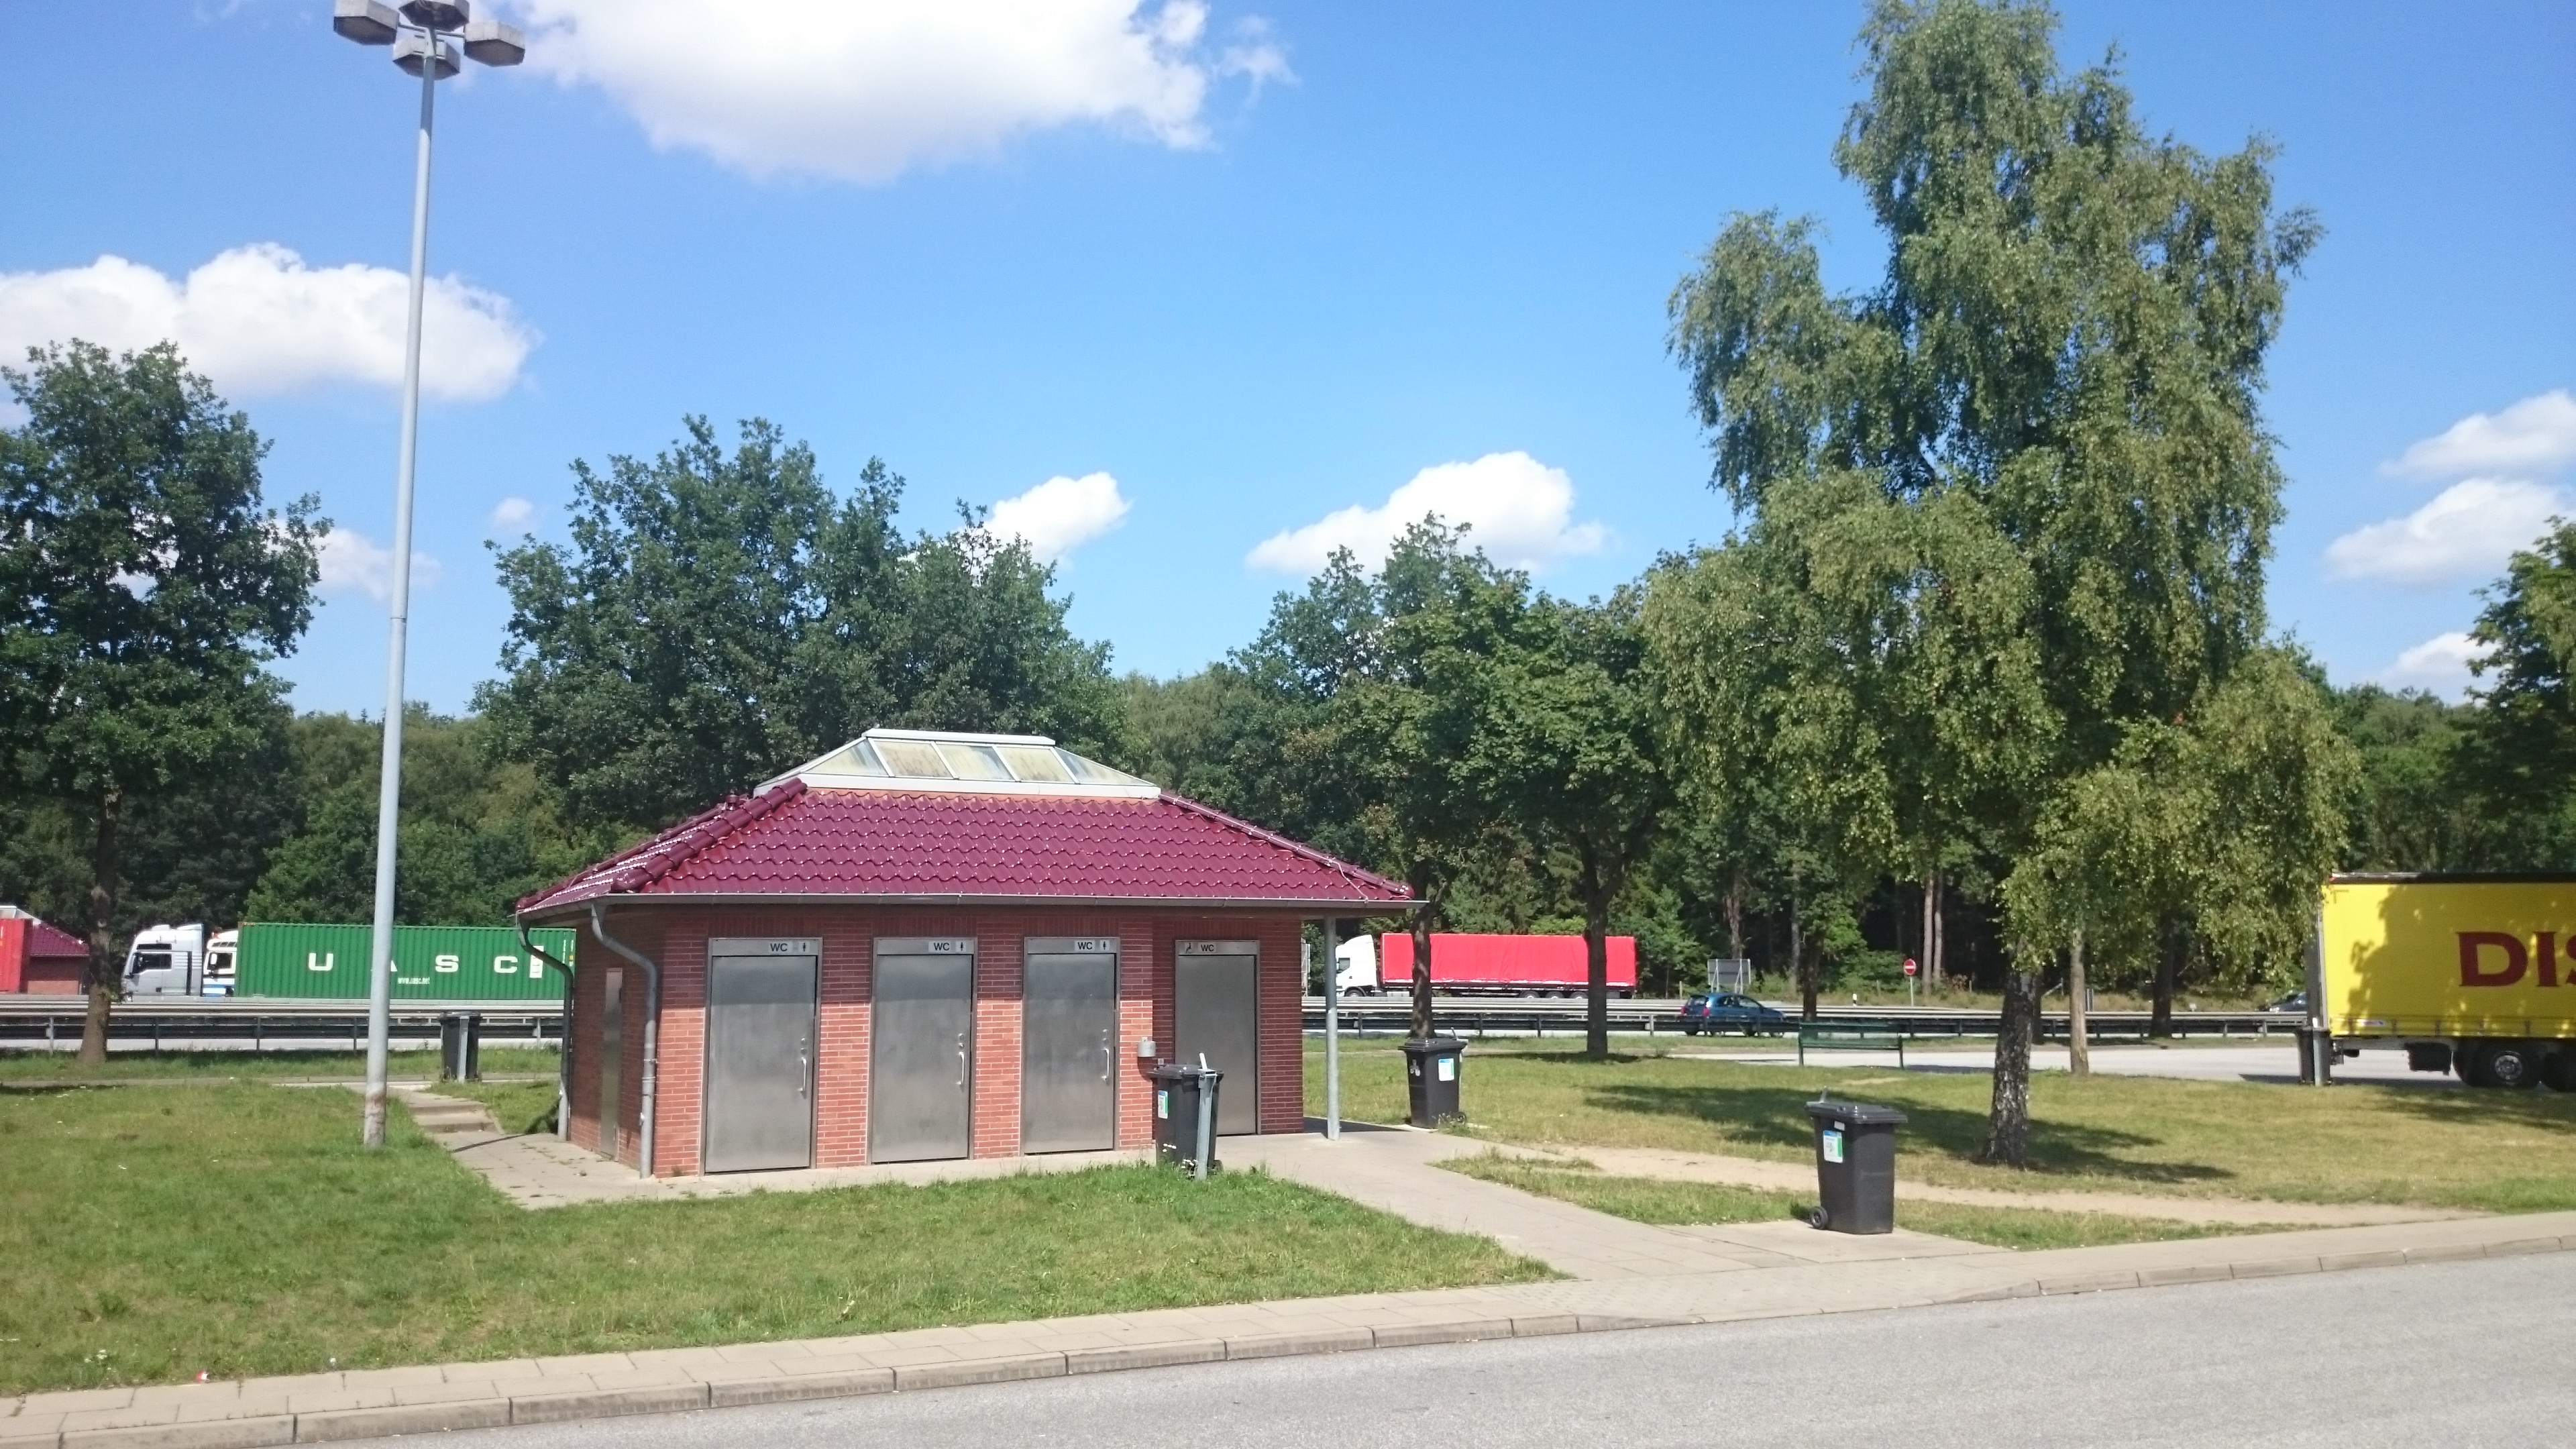
- Lichtquellen: Im vorderen Teil des Parkplatzes befindet sich ein Toilettenhäuschen, beleuchtet durch eine hohe Vierer-Lampe (Foto 2)
Foto 2: A24 Parkplatz Hahnenkoppel: Toilettenhäuschen (pCloud: DK_20150724_0011.JPG)
Autobahnparkplatz Wittenburger Land
Open Street Map: A24 Wittenburger Land
Foto 3: A24 Parkplatz Wittenburger Land (pCloud: DK_20150724_0014.JPG)

Dies ist ein neu errichteter Autobahnparkplatz (Jan. 2014) kurz hinter der Ausfahrt Wittenburg. Als Transitautobahn durch die DDR durften an der A24 nur wenig Parkplätze gebaut werden.
Von meiner Wohnung: 82,8 km d.h. 60 Minuten ohne Verkehr
GPS: 53°29’40.2″N, 11°07’34.1″E Google Maps: xhttp://www.google.com/maps?q=53.494514,11.126136
Beschreibung:
- Der Parkplatz ist mittelgroß. Es befinden sich mehrere Picknick-Plätze (Tisch und Bänke) in kurzer Distanz, die auch für Astronomie geeignet sind.
- Sichtfeld nach Süden ist im hinteren Teil des Parkplatzes teilweise durch Bäume in der Nähe eingeschränkt
- Lichtquellen: Im vorderen Teil des Parkplatzes befindet sich ein Toilettenhäuschen, das durch vier nicht so hohe Lampen beleuchtet ist (Foto 4).
Foto 4: A24 Parkplatz Wittenburger Land (pCloud: DK_20150724_0015.JPG)
Autobahnparkplatz Schremmheide
Kurz hinter der Ausfahrt “Hagenow” befindet sich der Parkplatz Schremmheide.
Open Street Map: A24 Schremmheide
Foto 5: A24 Parkplatz Schremmheide (pCloud: DK_20150930_06000.JPG)
Von meiner Wohnung: 95,1 km d.h. 1 h 3 min ohne Verkehr
GPS:53°27’43.3″N 11°20’31.8″E Google Maps: xhttp://www.google.com/maps?q=53.462037,11.342175
Beschreibung:
- Der Parkplatz ist mittelgroß. Es befinden sich mehrere Picknick-Plätze (Tisch und Bänke) in kurzer Distanz, die auch für Astronomie geeignet sind.
- Sichtfeld nach Süden ist gut.
- Lichtquellen: Im vorderen Teil des Parkplatzes befindet sich ein Toilettenhäuschen, das durch vier nicht so hohe Lampen beleuchtet ist.
Autobahnparkplatz Blievenstorf
Open Street Map: A24 Blievenstorf
Foto 6: A24 Parkplatz Blievenstorf (pCloud: DK_20150930_06006.JPG)
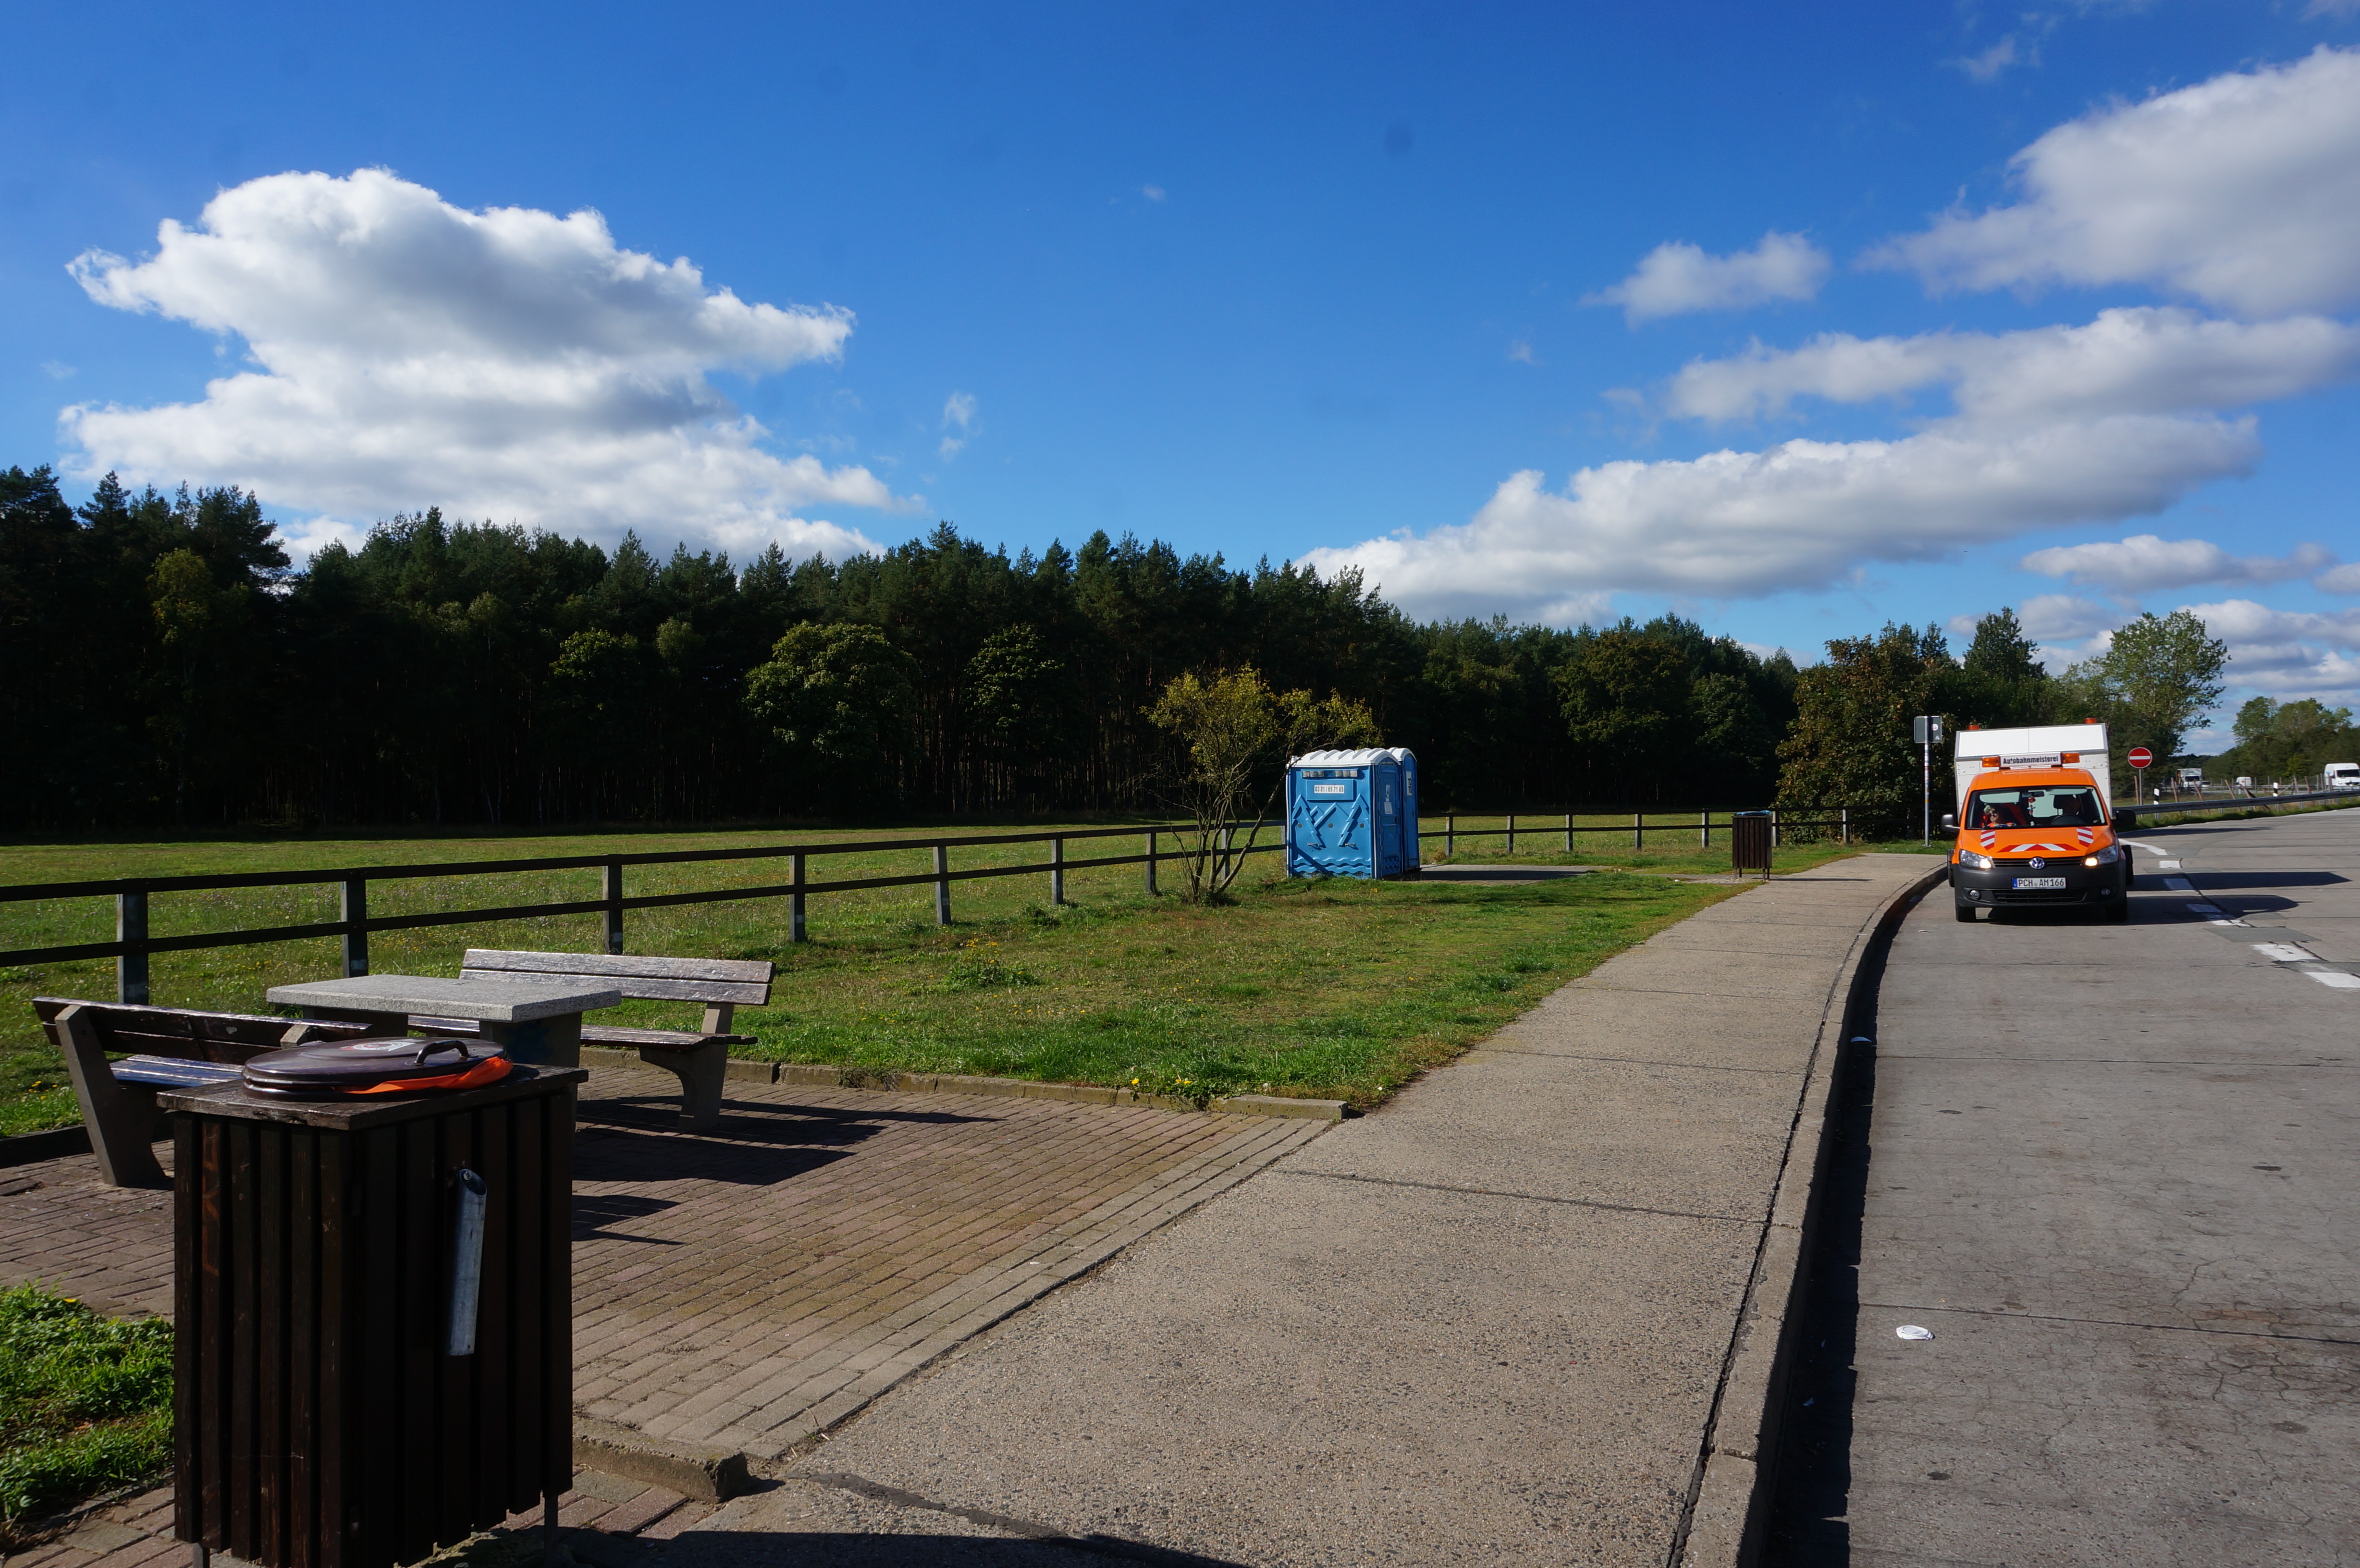
Von meiner Wohnung: 119 km, Fahrzeit: 1 h 14 min ohne Verkehr
GPS: 53°22’12.8″N 11°39’03.0″E Google Maps: xhttp://www.google.com/maps?q=53.370090,11.651696
- Es ist alter einfacher Parkplatz. Es befinden sich dort einige Picknickplätze (Tisch und Bänke) und man kann direkt daneben parken.
- Sichtfeld nach Süden gut
- Lichtquellen: keine
- Toilettenhäuschen: Nur ein “Dixi-Klo”
Autobahnparkplatz Putliz
Kurz vor der Ausfahrt “Putliz” befindet sich der alte einfache Parkplatz Putliz.
Open Street Map: A24 Putliz
Foto 7: A24 Parkplatz Putliz (pCloud: DK_20150930_06024.JPG)
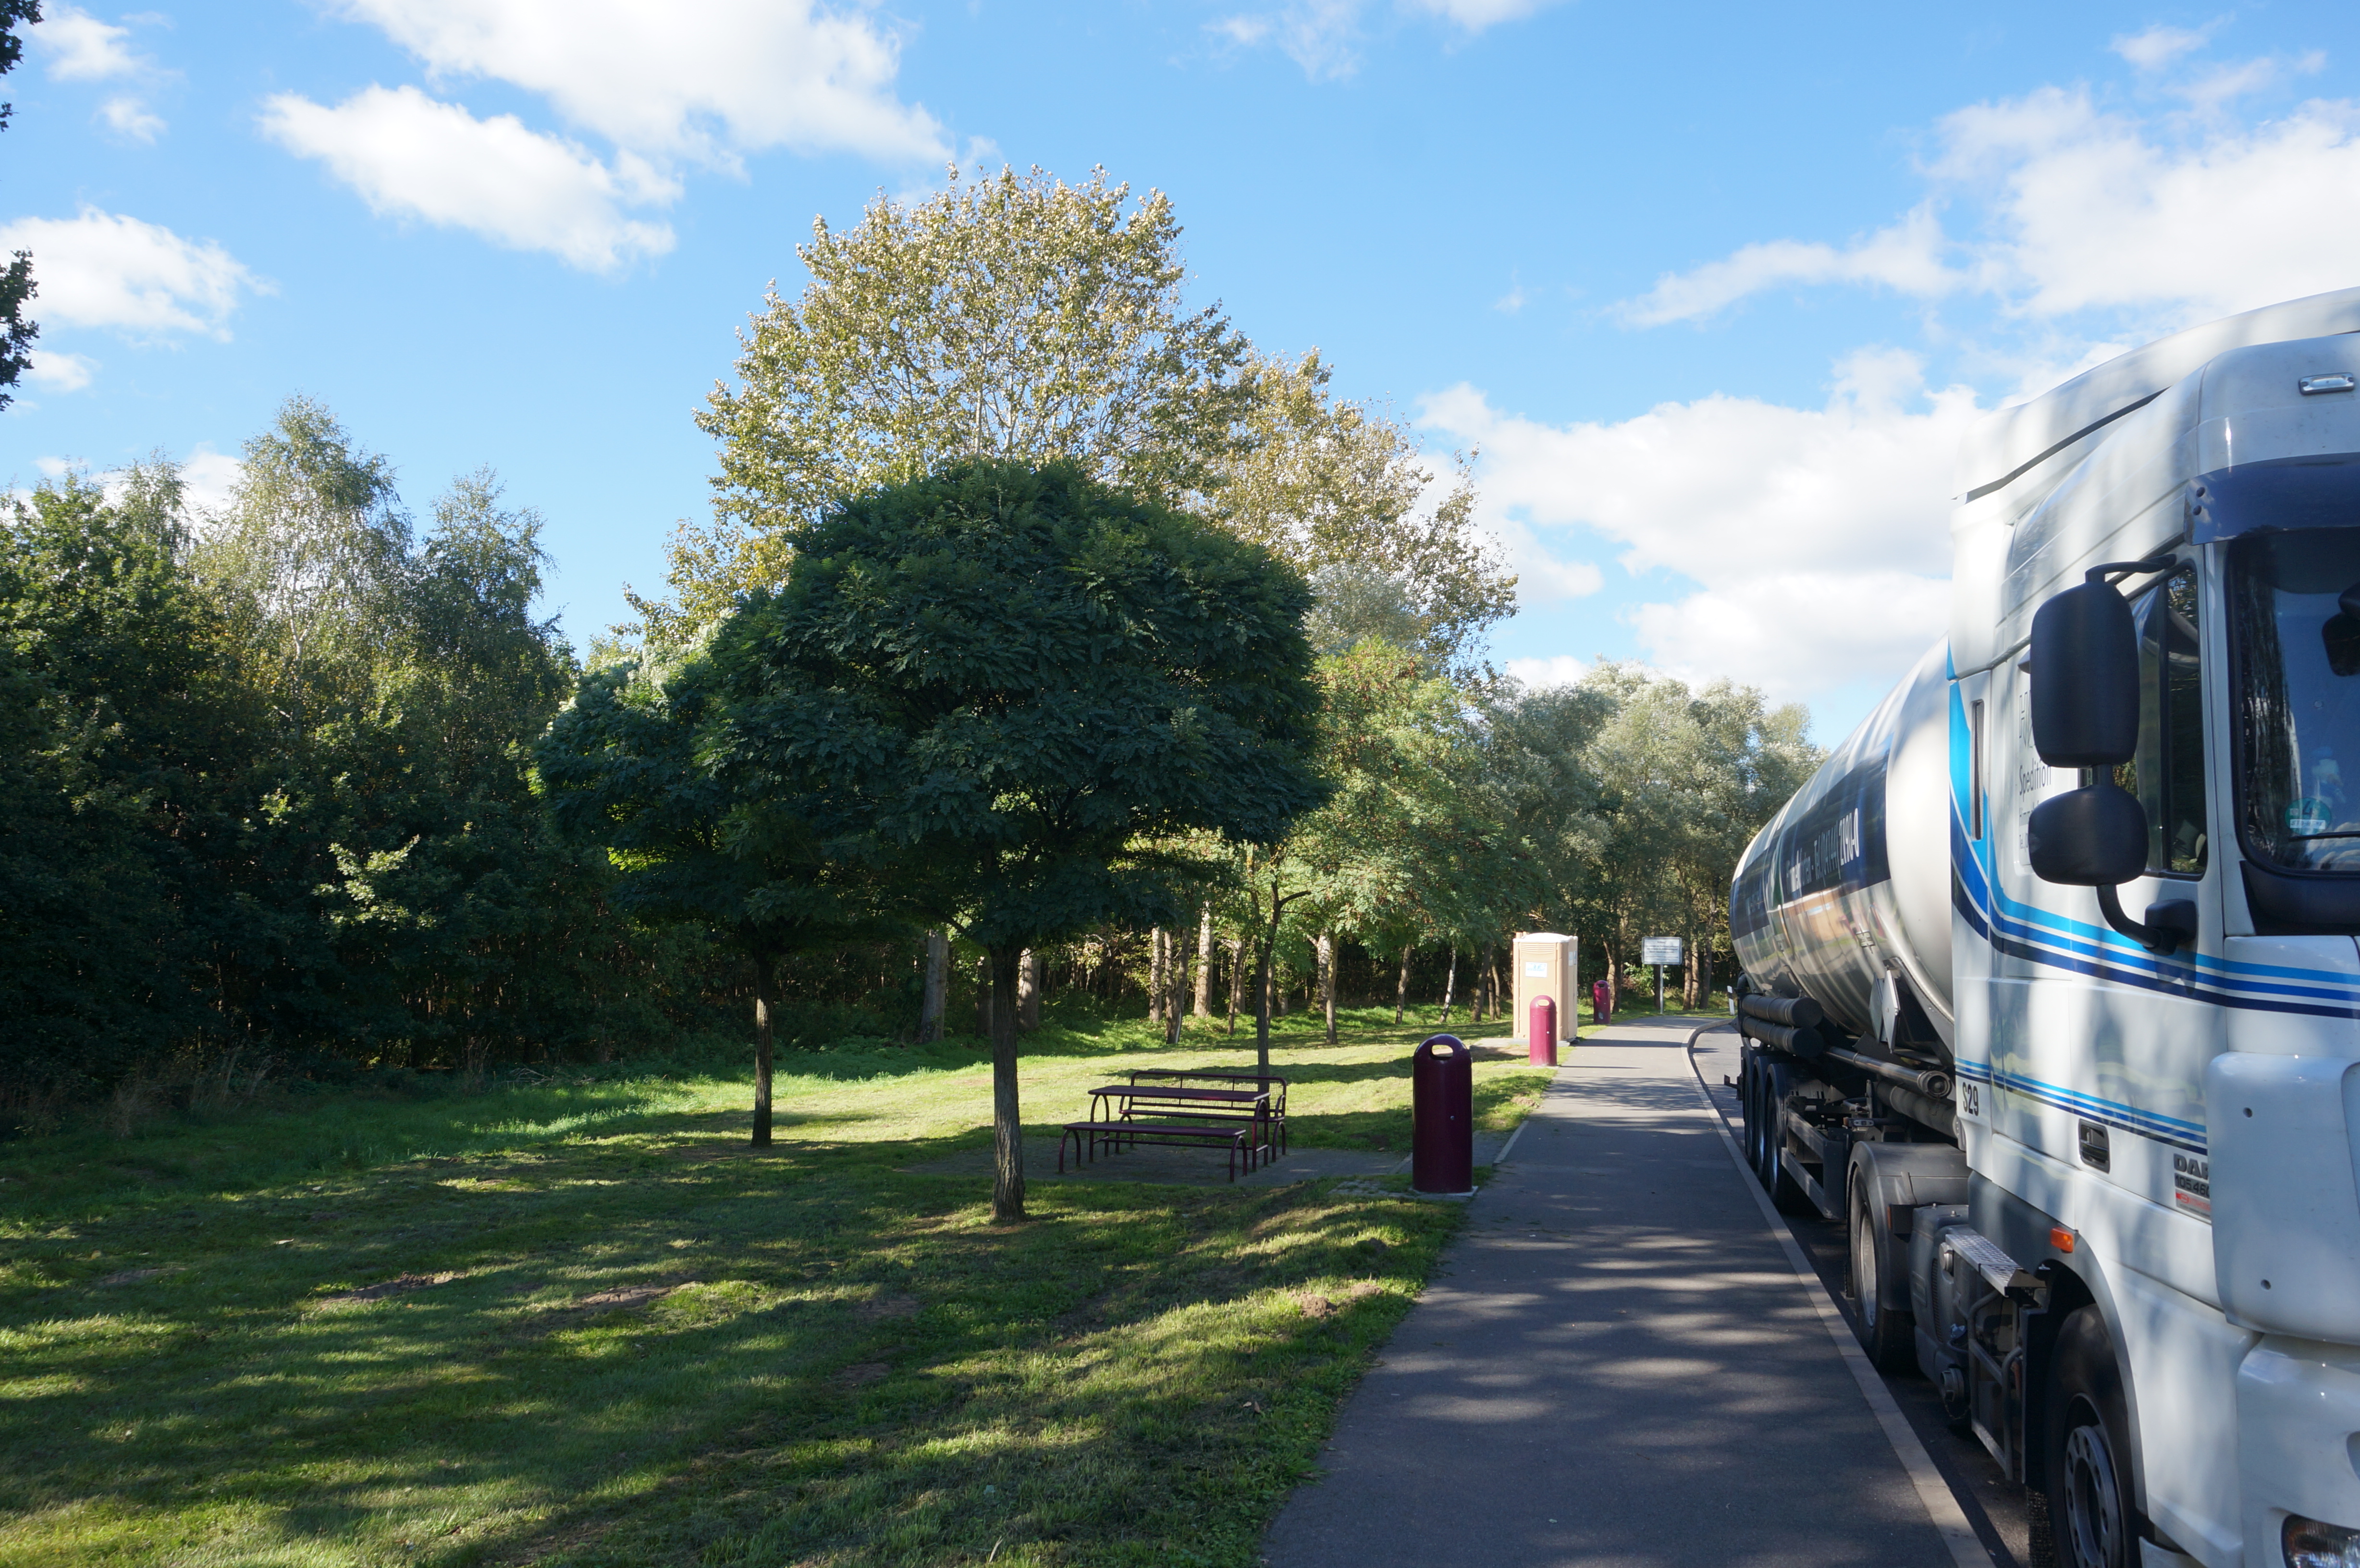
Von meiner Wohnung: 149 km 1h 33min ohne Verkehr
GPS: 53°17’05.9″ N 12°04’19.8″ E Google Maps: xhttp://www.google.com/maps?q=53.284464,12.073387
- Putlitz ist ein einfacher alter kleinerer Parkplatz
- xhttp://www.google.com/maps?q=53.278643,12.062525
- Lichtquellen: keine
- Toilettenhäuschen, nur ein unbeleuchtetes “Dixi”
Autobahnparkplatz Dorngrund
Open Street Map: A24 Dorngrund
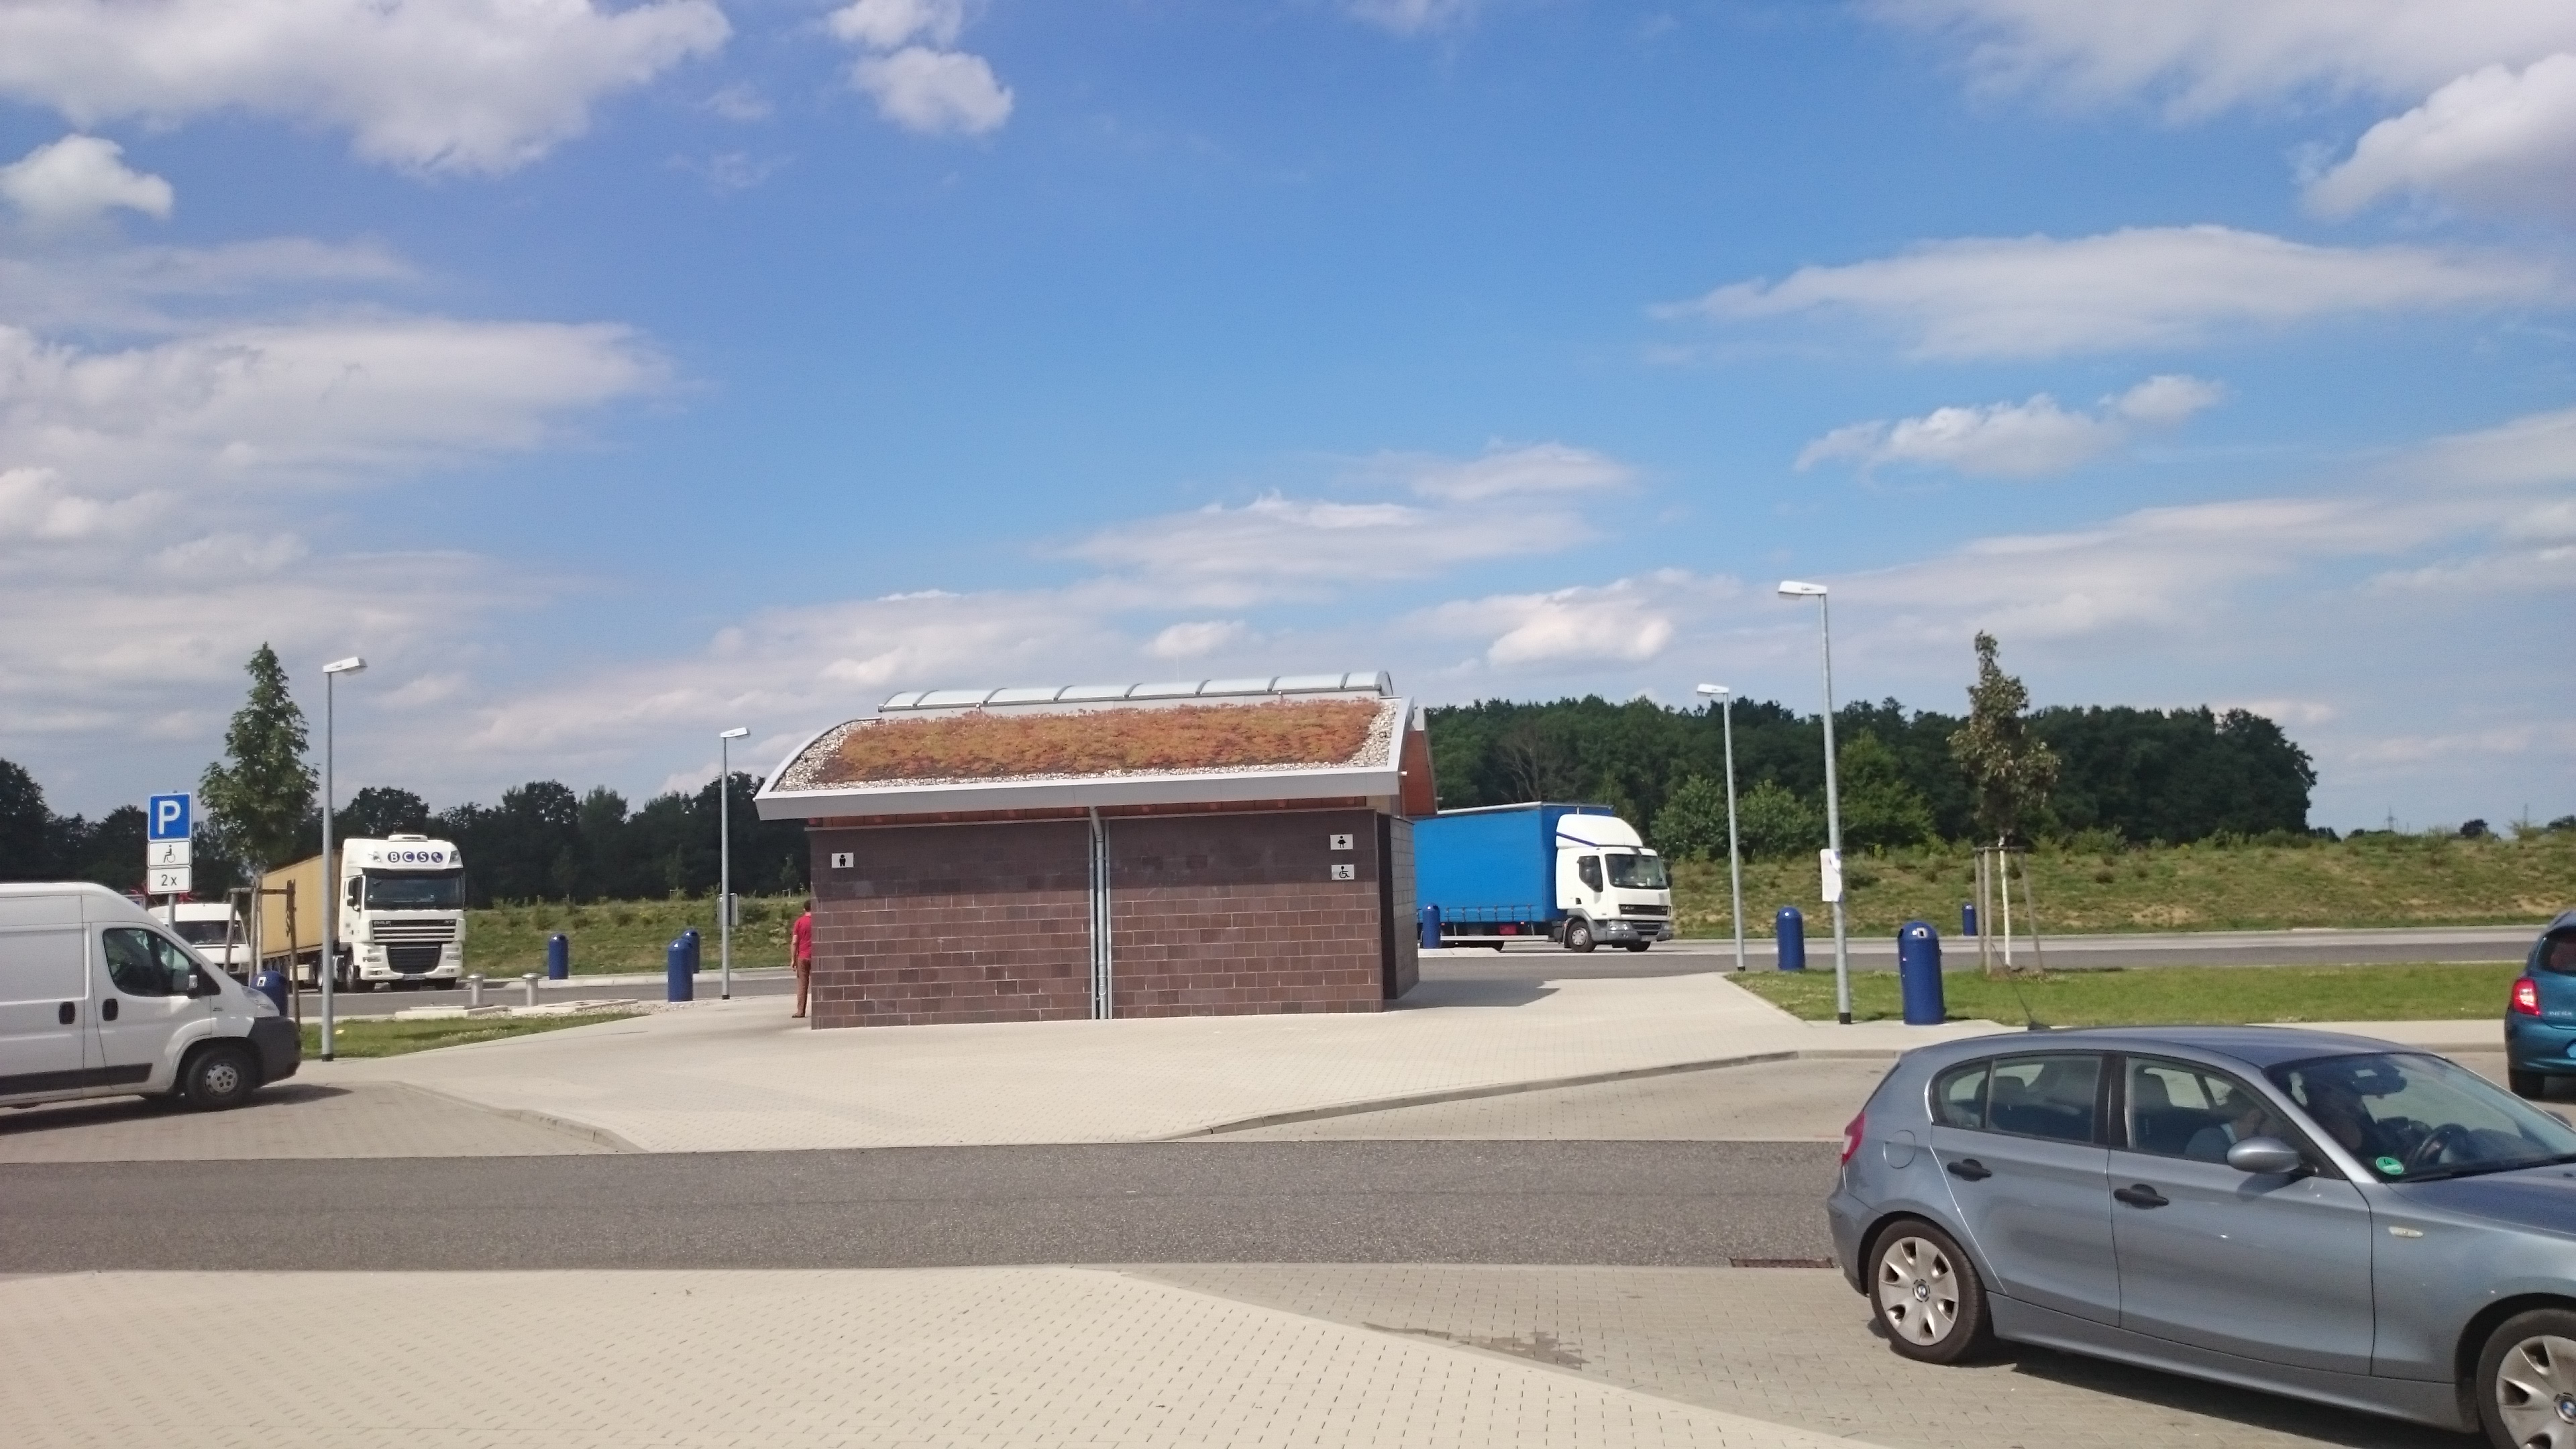
Foto 8: A24 Parkplatz Dorngrund: beleuchtetes Toilettenhäuschen (pCloud: DK_20150930_06058.JPG)
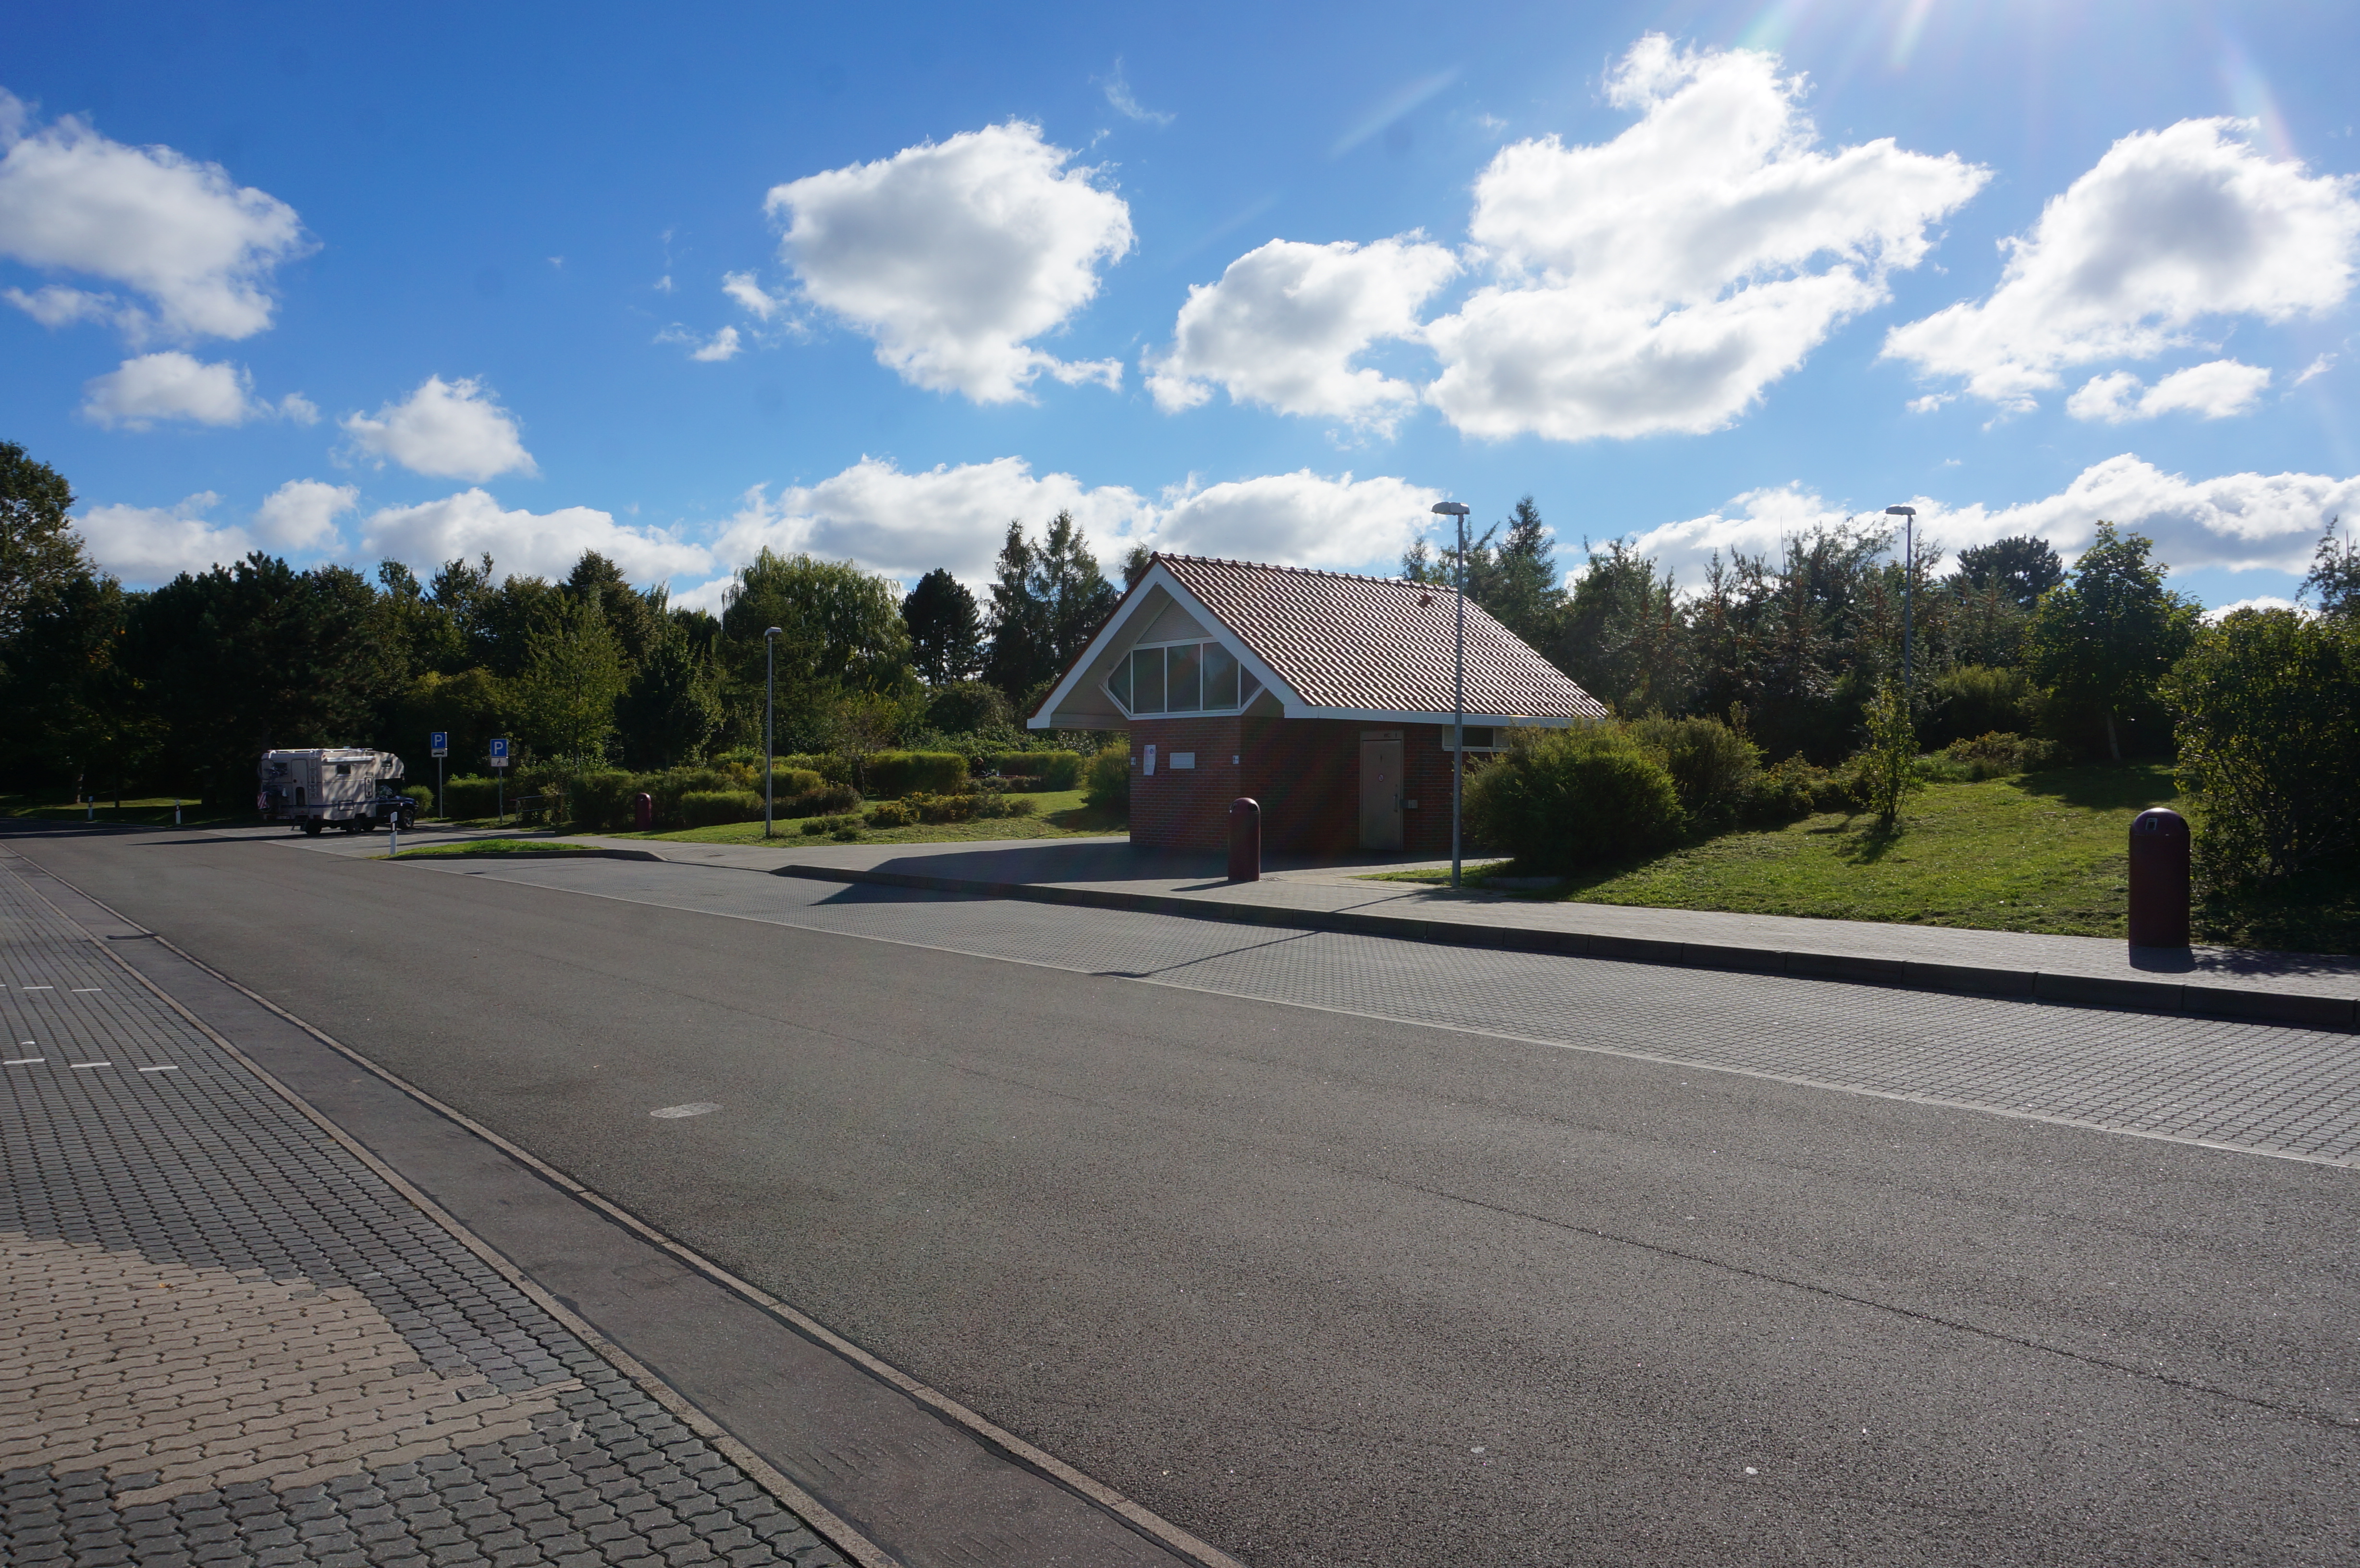
Von meiner Wohnung: 166 km, 1 h 36 min ohne Verkehr
GPS: 53.2635 12.1427 Google Maps: xhttp://www.google.com/maps?q=53.263569,12.142798
- Moderner, mittelgroßer Parkplatz
- Sichtfeld direkt nach Süden etwas eingeschränkt (Südost und Südwest geht)
- Lichtquellen: vier normale Lampen um das Toilettenhäuschen
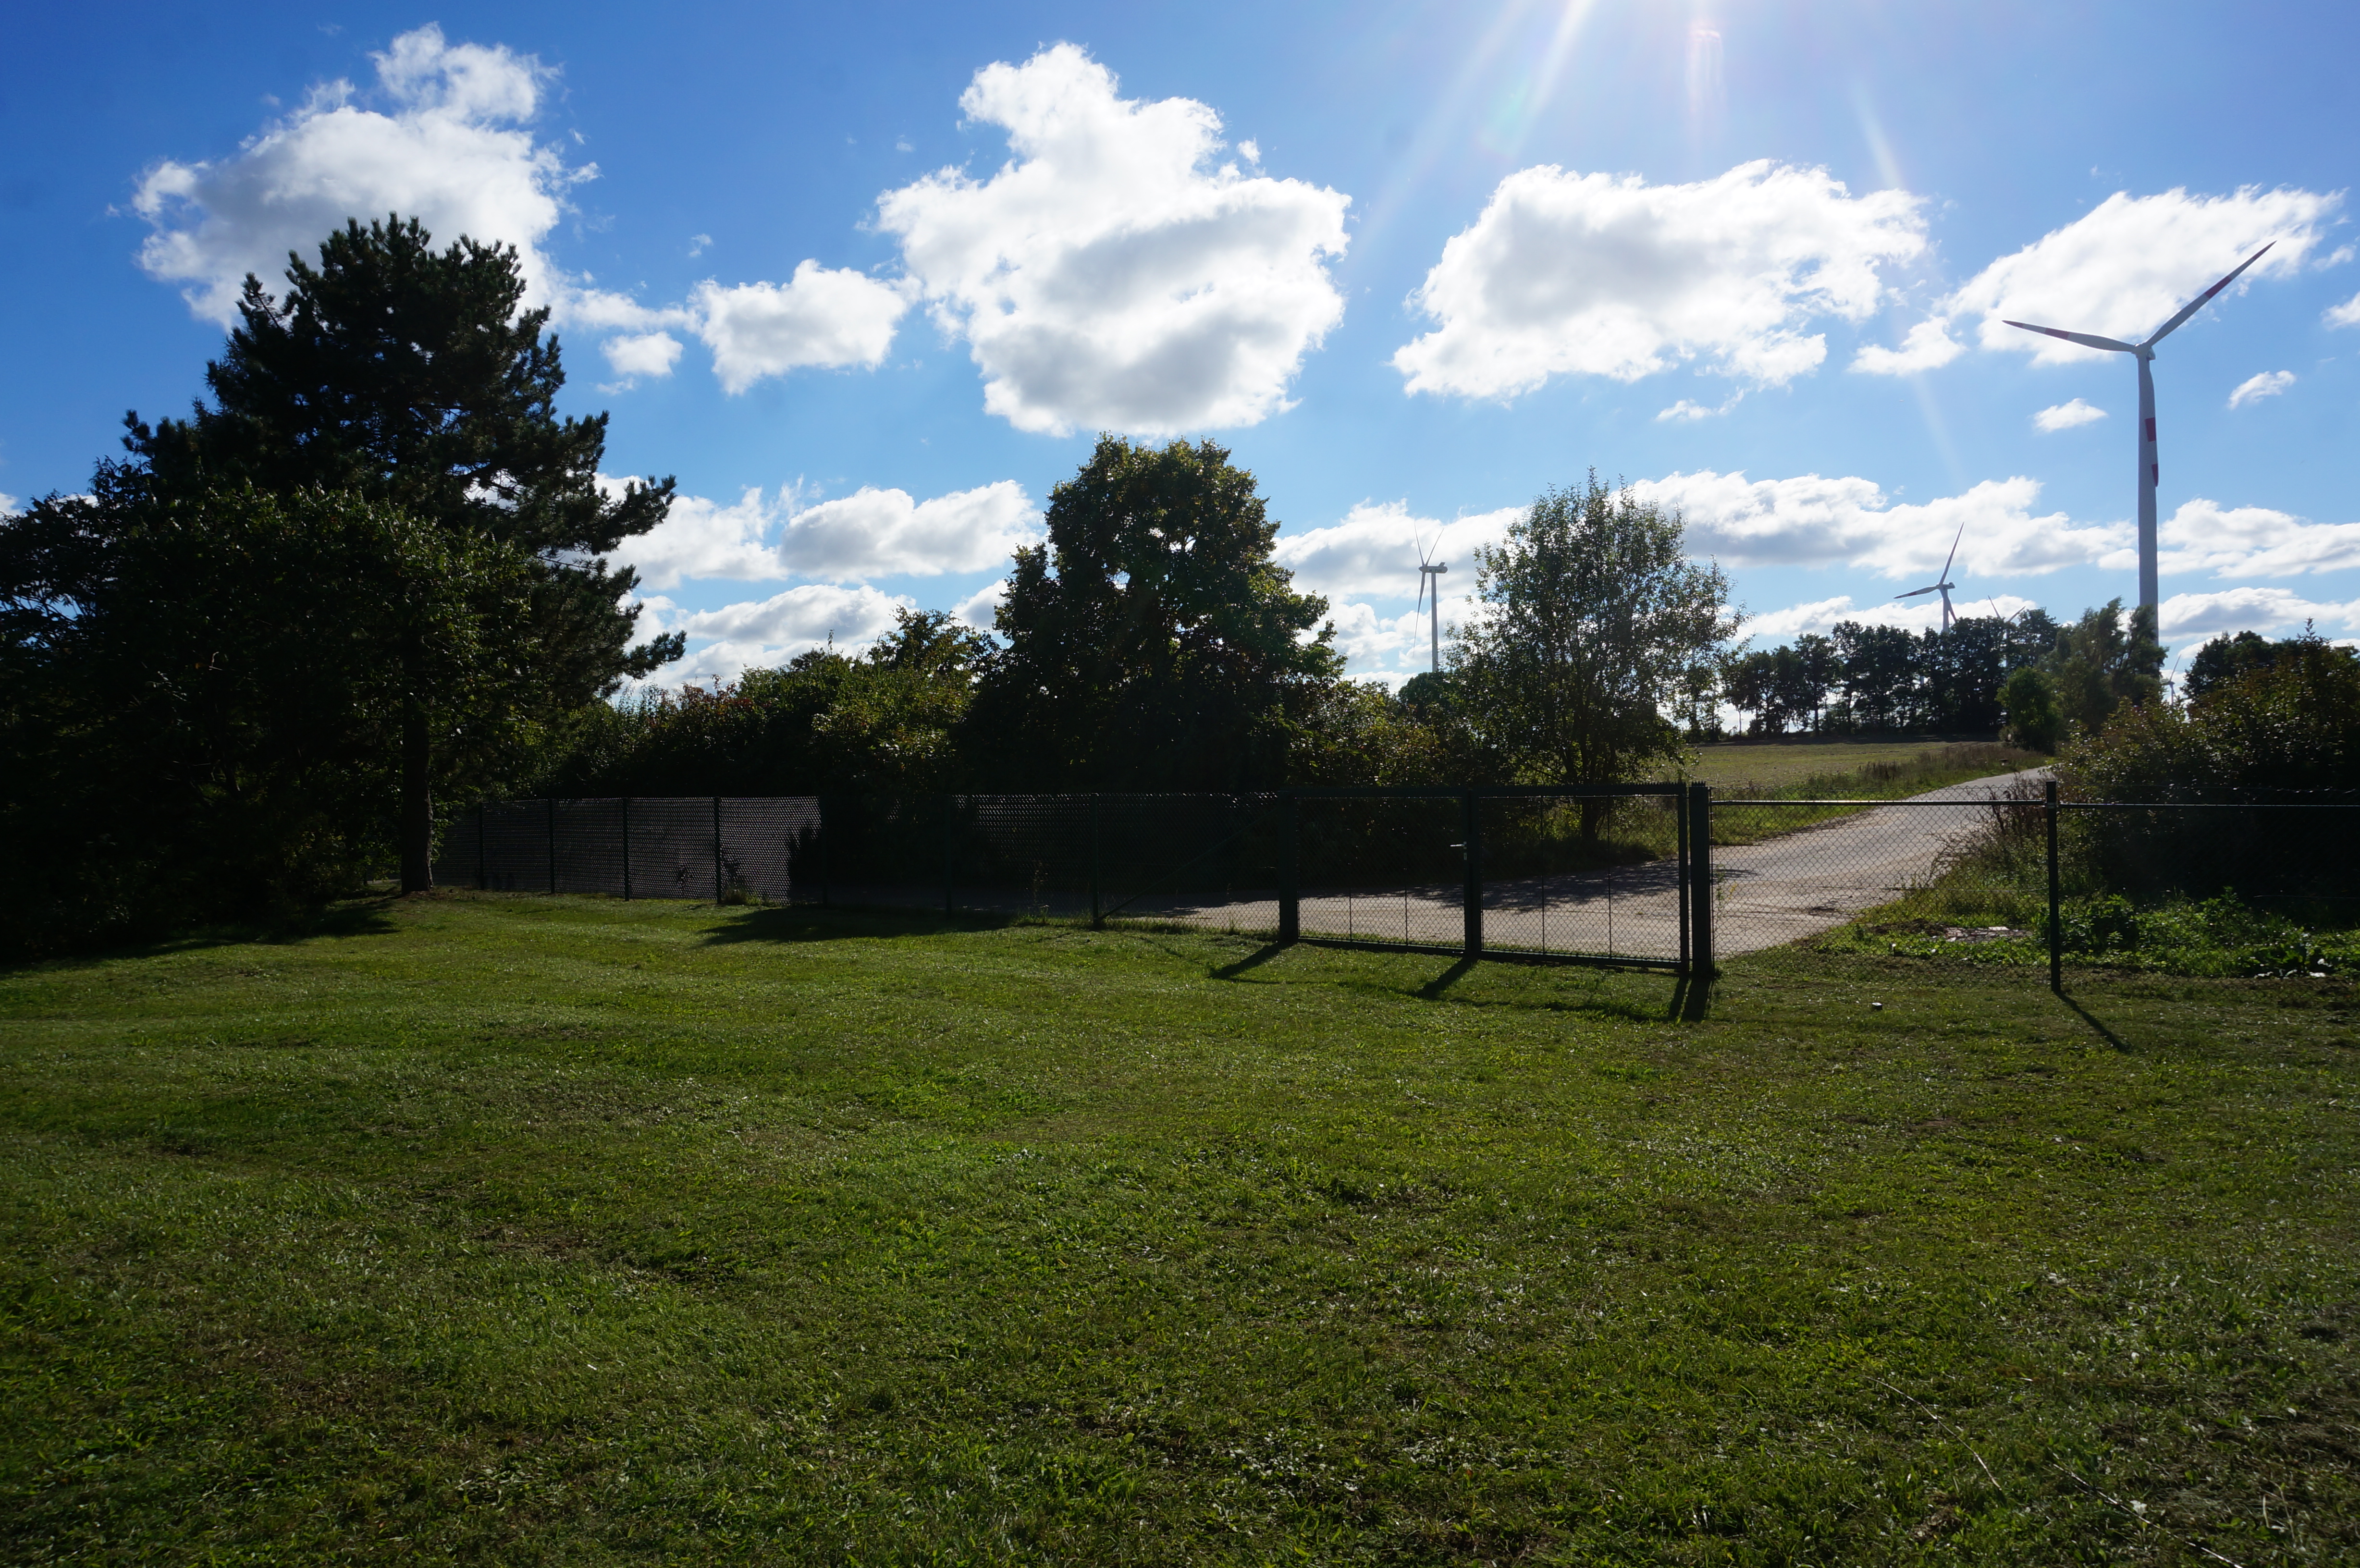
- Toilettenhaus: modern, dahinter ein Wiesenbereich mit Windrädern
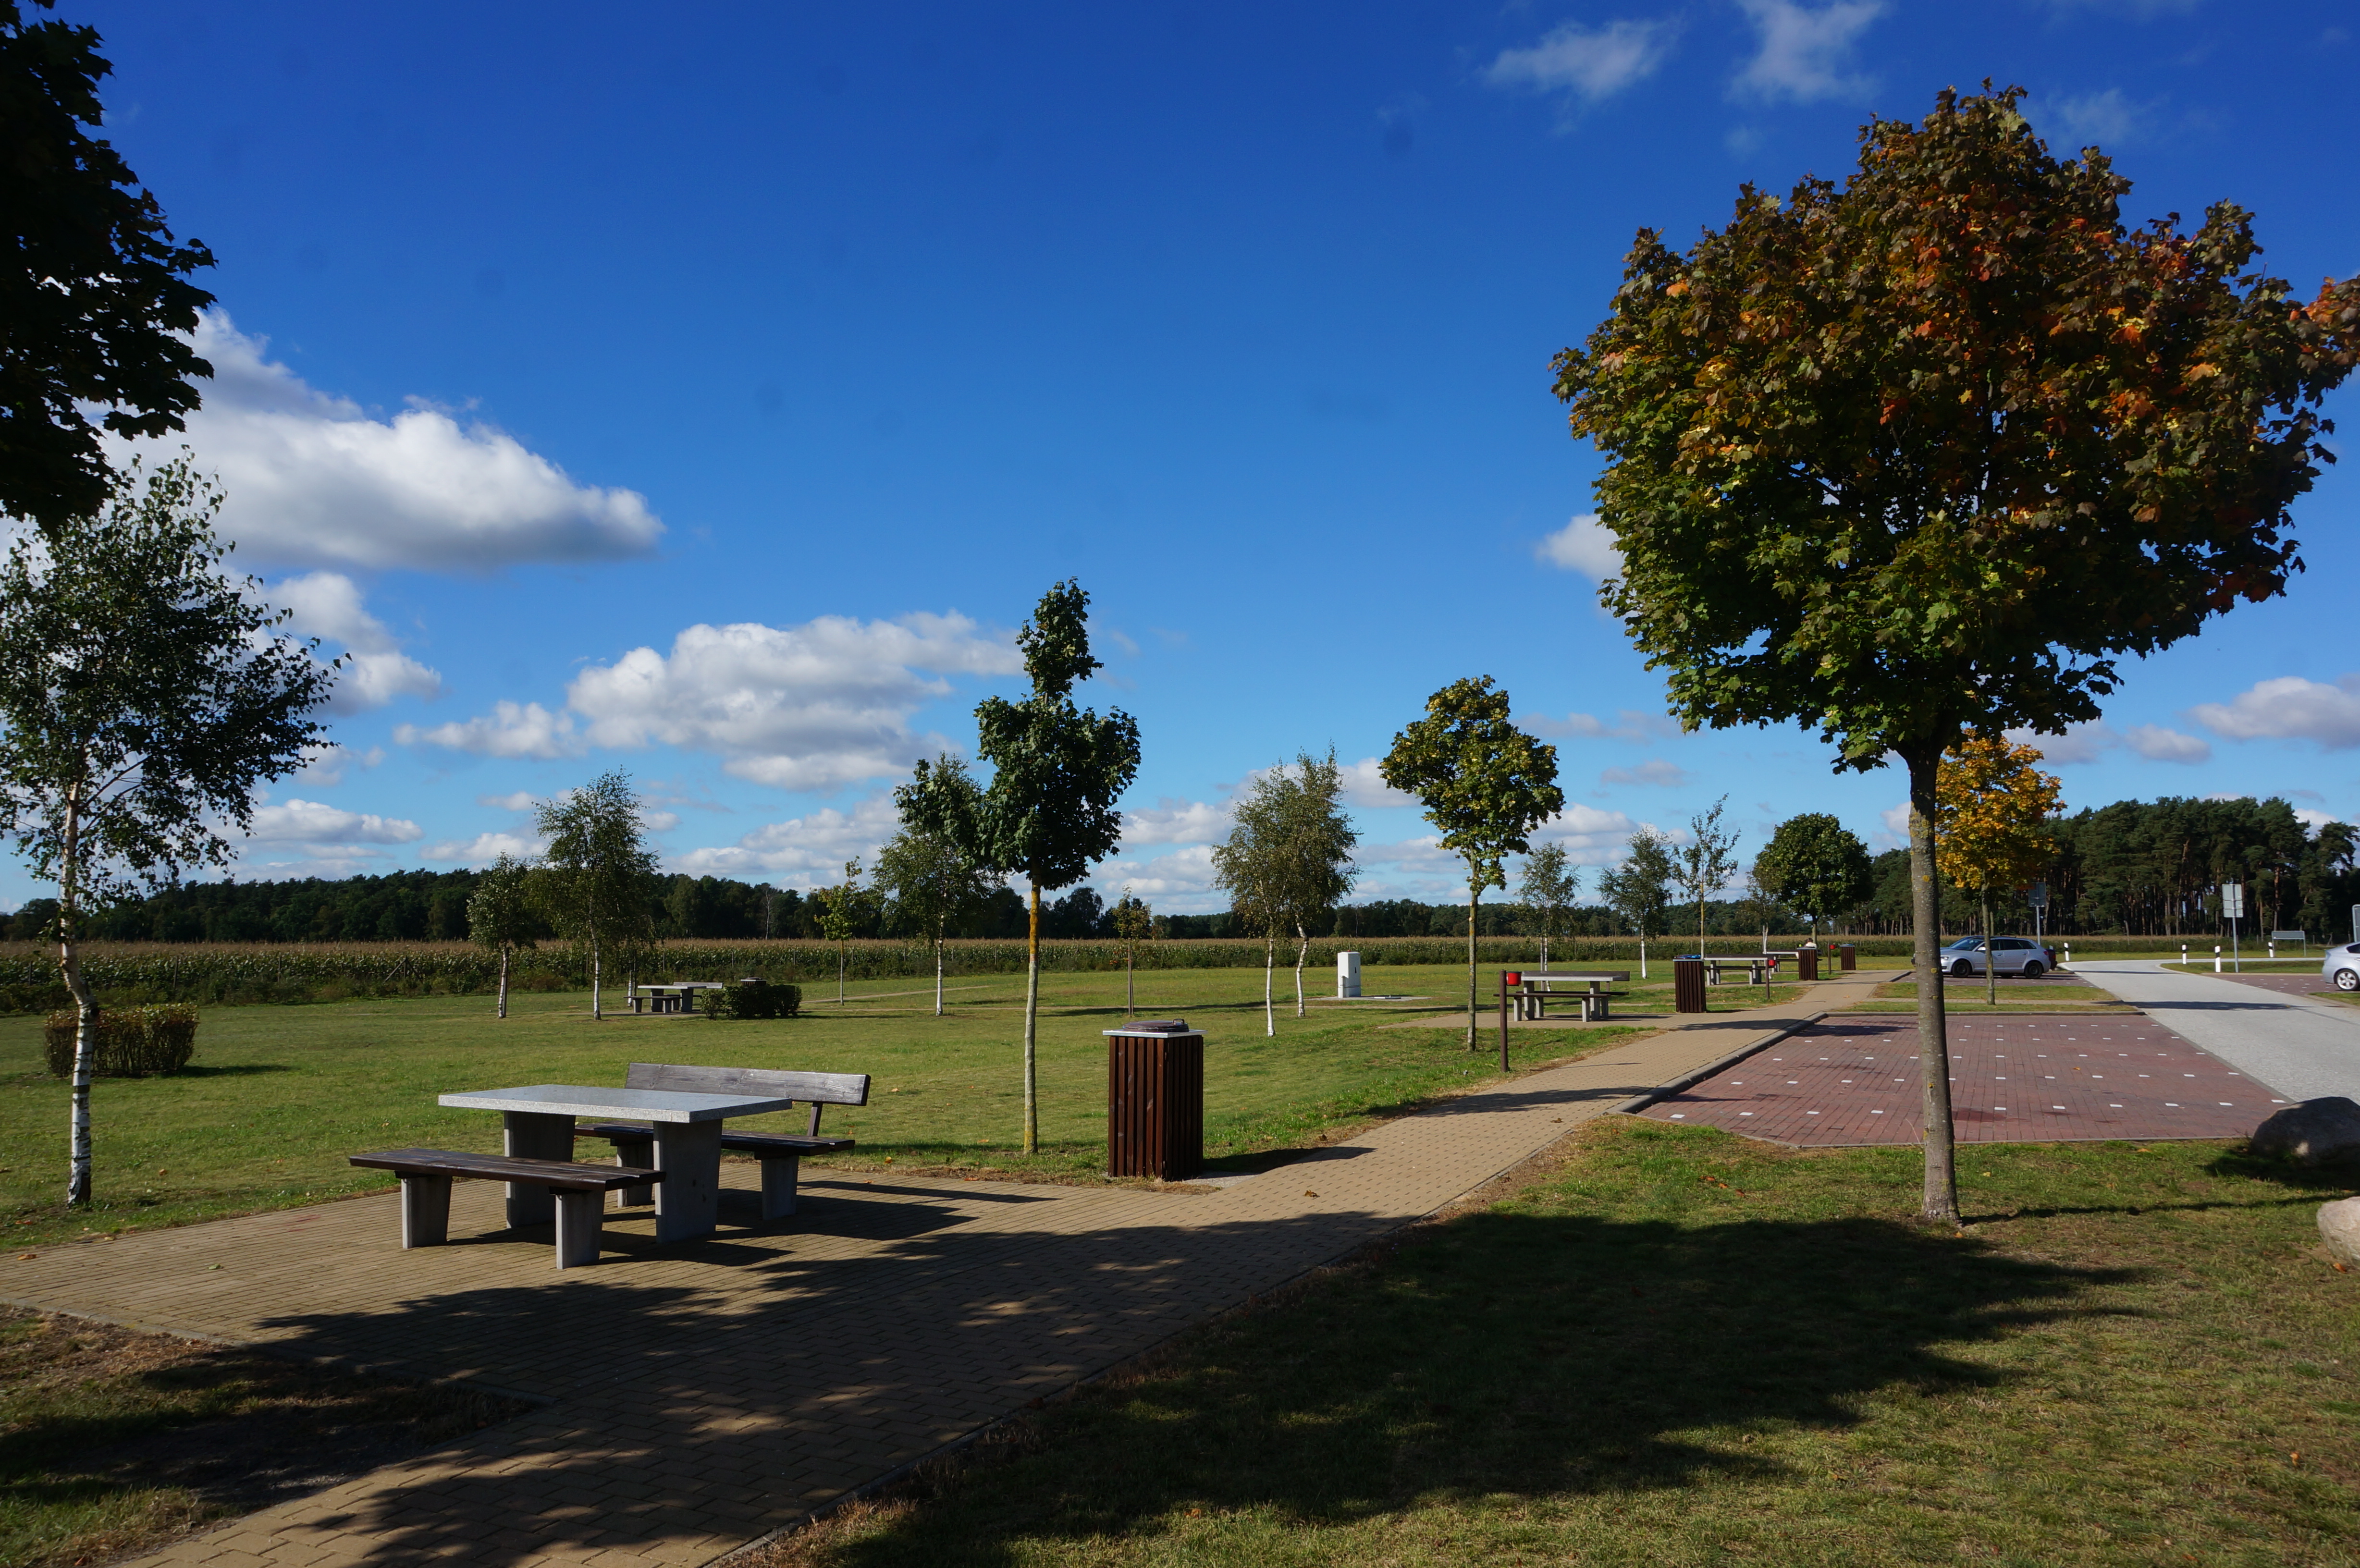
Foto 9: A24 Parkplatz Dornengrund: Wiese hinter dem Toilettenhäuschen (pCloud: DK_20150930_06054.JPG)